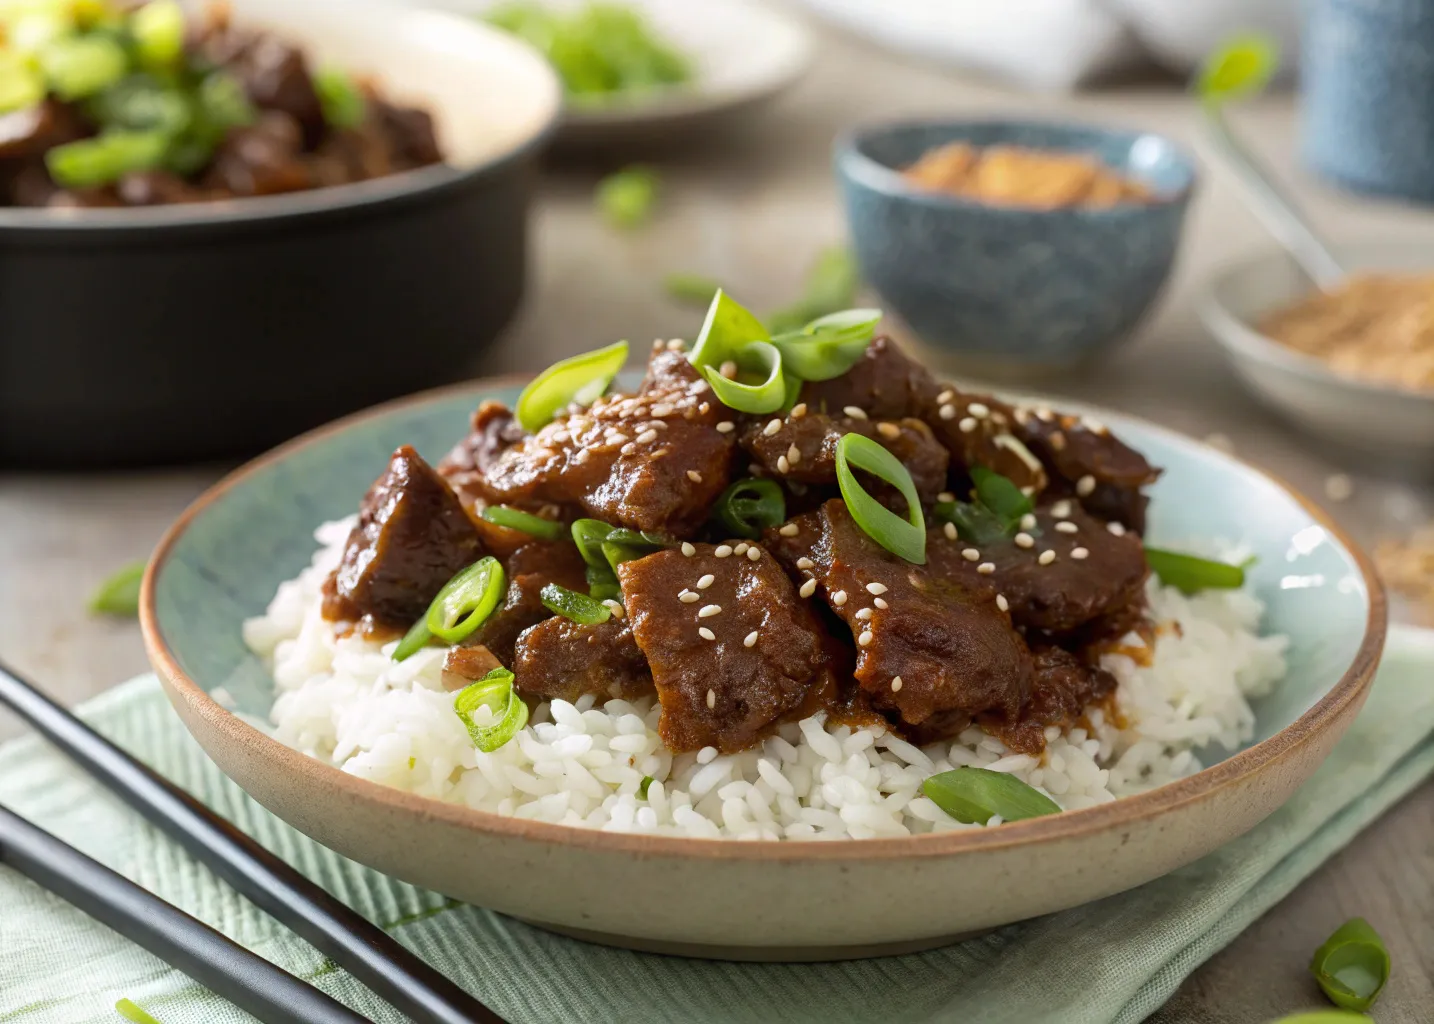
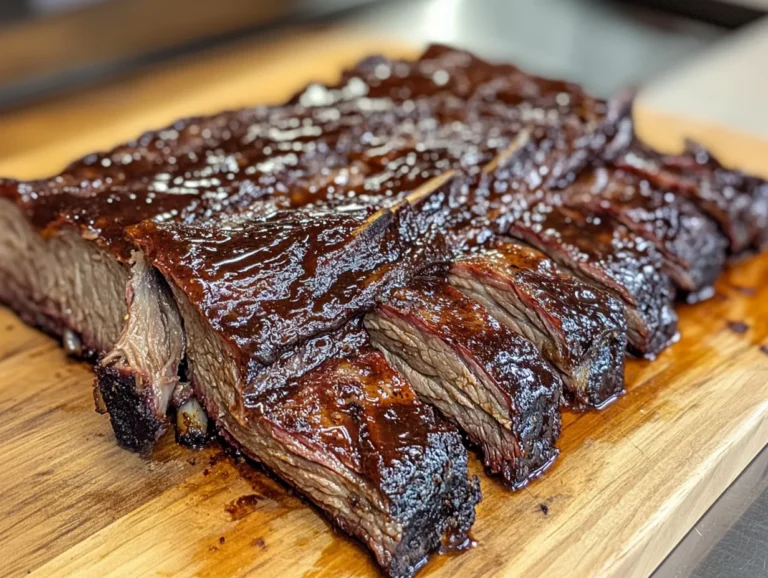
If you’re craving bold flavor, juicy beef, and a sweet-savory sauce that clings to every bite, this Mongolian Beef recipe is exactly what you need. It’s fast enough for a weeknight but delicious enough to rival your favorite Chinese takeout spot — and you won’t believe how easy it is to make at home.
With minimal ingredients, a one-pan stir-fry method, and tons of flavor flexibility, this dish is a total game changer. Whether you’re meal prepping for the week or cooking dinner in 30 minutes, this recipe gets it done — without mystery ingredients or deep fryers.
Why You’ll Love This Mongolian Beef Recipe
Fast: Ready in 30 Minutes or Less
This Mongolian beef recipe is designed for speed. With a short prep time and a quick stir-fry technique, you can have dinner on the table in half an hour — perfect for busy weeknights.
Easy: Simple Ingredients, No Fancy Tools
You won’t need a wok or specialty sauces to make this dish taste amazing. All it takes are pantry staples like soy sauce, garlic, and brown sugar. A large skillet, some slicing, and a quick sauté — that’s it.
Better Than Takeout
The flavor is rich, savory, and lightly sweet, with a garlicky depth and perfect saucy texture. Plus, you control the ingredients — less oil, lower sodium, no additives — all without sacrificing taste.
Totally Customizable
This recipe easily adapts to gluten-free, low-carb, or keto diets. Want it spicier? Toss in chili flakes or sriracha. Want it healthier? Serve over cauliflower rice or in lettuce wraps. The base stays the same — just change up the sides or spice level to make it your own.
Essential Ingredients for the Best Mongolian Beef
Best Cuts of Beef for Stir-Fry
You want beef that stays tender with quick cooking. The top choices are:
| Cut of Beef | Why It Works |
|---|---|
| Flank Steak | Thinly sliced, soaks up sauce well |
| Sirloin | Lean and tender |
| Skirt Steak | Rich in flavor, cooks fast |
Tip: Slice the beef against the grain for maximum tenderness. Keep the slices thin — about 1/4 inch thick.
Must-Have Sauce Ingredients
This Mongolian beef recipe keeps it classic and simple:
- Soy Sauce – Use low-sodium if preferred
- Brown Sugar – Balances the saltiness
- Garlic & Ginger – Adds bold aromatic flavor
- Cornstarch – Used to thicken the sauce and give the beef a light, crispy coating.
- Green Onions – For color, texture, and a fresh finish
- Neutral Oil – Like canola or avocado oil, for stir-frying
Smart Substitutes for Any Diet
Whether you’re cutting carbs or avoiding gluten, these swaps keep the dish diet-friendly:
| Ingredient | Substitute | Use For |
|---|---|---|
| Soy Sauce | Tamari or Coconut Aminos | Gluten-Free / Paleo |
| Brown Sugar | Monkfruit Sweetener or Erythritol | Low-Sugar / Keto |
| Cornstarch | Arrowroot or Xanthan Gum | Gluten-Free thickener |
How to Make Mongolian Beef Step-by-Step
Prepping Beef and Veggies for Best Results
Before you heat your pan, make sure everything is prepped. This dish comes together fast, so you won’t have time to chop or measure on the fly.
- Slice the beef: Cut into thin strips, about ¼ inch thick, against the grain.
- Toss in cornstarch: Coat the beef lightly in cornstarch. This helps it brown nicely and gives the sauce a velvety texture.
- Chop your aromatics: Mince fresh garlic and grate ginger if using it.
- Slice green onions: Cut into 1-inch pieces — they’re added at the end for crunch and flavor.
If you like prepping ahead, you can slice the beef and store it in the fridge up to 24 hours in advance.
Searing the Meat: Timing and Heat Tips
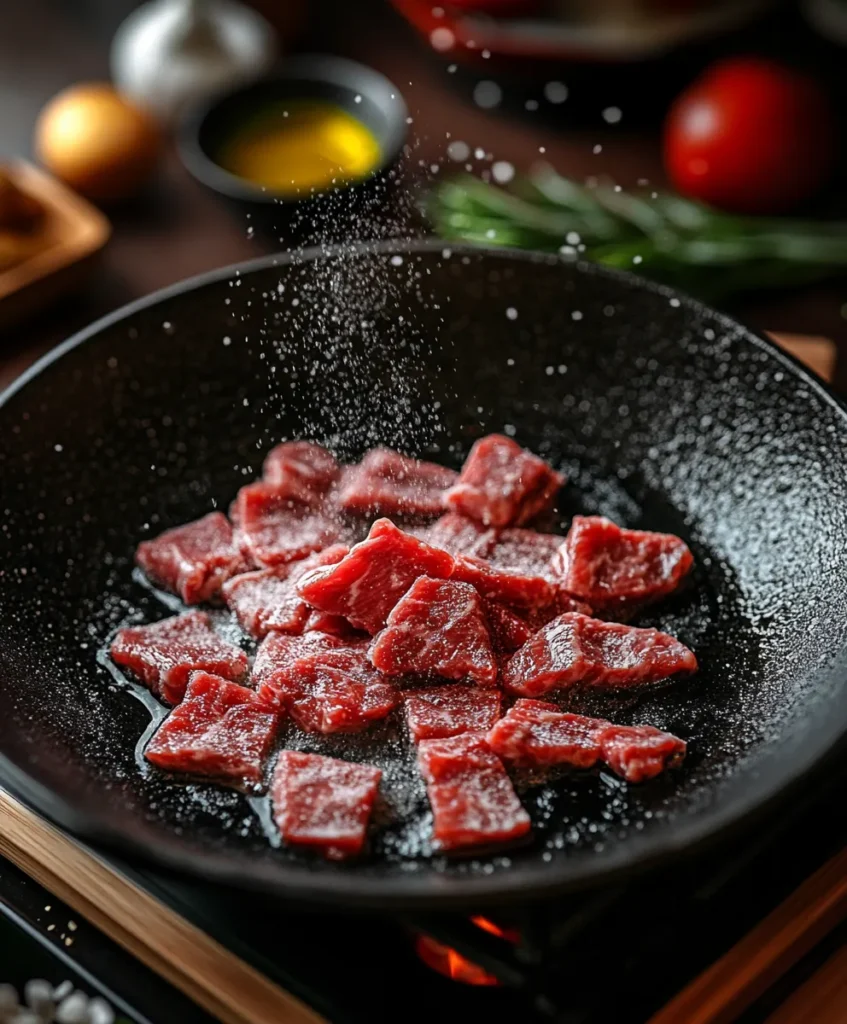
This step is where the magic happens — high heat creates a delicious crust on the beef while keeping it juicy inside.
- Heat 1 to 2 tablespoons of neutral oil in a large skillet over medium-high to high heat.
- Once shimmering, add beef in a single layer — don’t overcrowd the pan.
- Cook for 2 to 3 minutes per side, just until browned. You may need to do this in batches.
Don’t move the beef too much — let it sit so it gets that gorgeous sear. Once browned, remove it from the pan and set it aside.
Tossing in the Sauce: The Finishing Touch
With the beef set aside, it’s time to make the sauce in the same pan.
- Lower the heat to medium.
- Add a touch more oil if needed.
- Sauté garlic (and optional ginger) until fragrant — about 30 seconds.
- Add soy sauce, brown sugar, and water. Stir to combine.
Simmer the sauce for about 2–3 minutes until it thickens slightly. Then, add the beef back in, toss to coat, and let it simmer for another 2 minutes to soak up the flavor.
At the end, stir in green onions and remove from heat. The sauce will thicken as it cools.
Crafting the Perfect Mongolian Sauce
Sauce Base: Soy Sauce + Sweet + Savory Balance
The soul of any good Mongolian Beef recipe is the sauce. It needs to be rich, garlicky, slightly sweet, and just salty enough. Here’s the basic formula that works every time:
- ½ cup low-sodium soy sauce
- ½ cup brown sugar
- ¼ cup water
- 4 cloves garlic, minced
- 1 teaspoon grated fresh ginger (optional)
This combo gives you that glossy, sticky-sweet glaze that coats the beef perfectly.
Thicken Without Cornstarch: What Works
Cornstarch is traditional, but there are other thickeners if you’re avoiding it:
| Thickener | How to Use |
|---|---|
| Arrowroot powder | Use 1:1 in place of cornstarch |
| Tapioca starch | Slightly thicker, use ¾ of amount |
| Xanthan gum | Use very sparingly (⅛ tsp at most) |
Always dissolve the thickener in cold water before adding it to the hot sauce to prevent clumping.
Spice Level: Adjusting for Taste
The classic recipe is not spicy, but you can easily turn up the heat:
- Add ½ to 1 tsp red pepper flakes to the sauce.
- Drizzle in chili oil just before serving.
- Stir in sriracha or gochujang for a deeper kick.
You’re in control here — make it mild for kids or spicy for yourself.
Discover great ideas like our homemade teriyaki chicken marinade for more ways to master sweet-savory Asian sauces at home.
What to Serve with Mongolian Beef
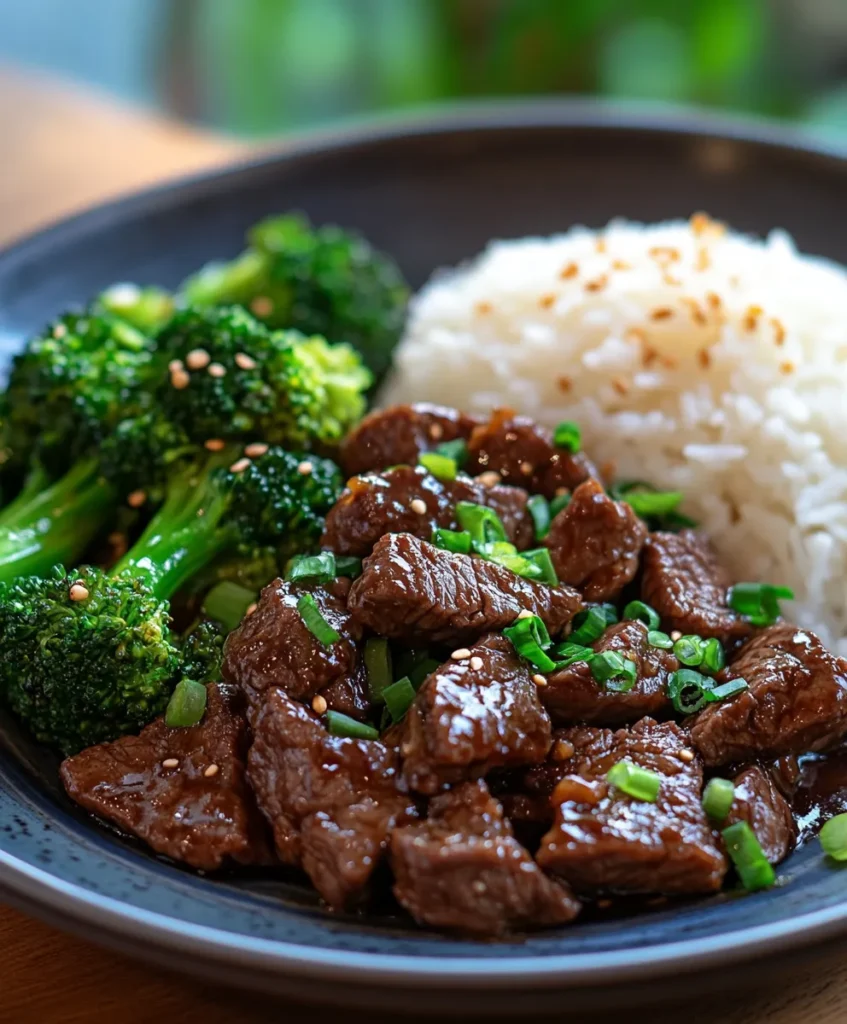
Pairing your Mongolian beef recipe with the right side elevates it from a good dinner to a crave-worthy meal. Whether you’re keeping it classic or going low-carb, here are the best combinations.
Traditional Pairings: White Rice, Brown Rice, or Jasmine
Nothing soaks up that sticky sauce like a bowl of steamed rice. It’s simple, fast, and balances the savory-sweet flavors beautifully.
| Rice Type | Flavor/Texture | Cook Time |
|---|---|---|
| White Rice | Neutral, fluffy | 15-20 min |
| Jasmine Rice | Fragrant, soft | 12-15 min |
| Brown Rice | Nutty, chewy, high fiber | 40-45 min |
Pro Tip: Add a pinch of salt and a splash of sesame oil to your rice water to subtly boost flavor.
Don’t miss our flavorful beef and broccoli stir-fry for another quick, savory Asian-style dinner that’s perfect over rice.
Low-Carb Options: Cauliflower Rice or Lettuce Wraps
Cutting carbs? No problem. These sides keep it light without sacrificing flavor:
- Cauliflower rice: Cooks in 5 minutes and absorbs the sauce well.
- Zucchini noodles: Light and fresh — toss them in the pan at the end.
- Lettuce wraps: Use butter lettuce or romaine for handheld wraps.
These swaps make the dish keto-friendly, gluten-free, and still totally satisfying.
Looking for a low-carb option? Try these ground beef lettuce wraps for a flavorful, handheld dinner with less starch.
Saucy Pairing Tips to Keep it Balanced
Because the sauce is bold, pair it with simple sides:
- Quick stir-fried broccoli or snap peas
- Steamed green beans with garlic
- Cucumber salad for a cooling contrast
Tips & Mistakes to Avoid
Even though this Mongolian beef recipe is simple, there are a few key details that make the difference between good and restaurant-quality.
Don’t Overcook the Beef: Thin Slices, Quick Fry
Beef cooks fast — especially in a hot pan. If you go too long, it turns chewy. To avoid that:
- Slice thin and even
- Use high heat
- Stir-fry in small batches
Avoid crowding the pan — it causes the beef to steam instead of sear.
Avoid Watery Sauce: Simmer, Don’t Boil
A thin, watery sauce can ruin the dish. Here’s how to keep it glossy and rich:
- Simmer the sauce gently for 2–3 minutes
- Let the sugar caramelize slightly
- Add the cornstarch slurry only after reducing the heat
Stir constantly while the sauce thickens — it happens fast.
Use a Hot Pan: Wok or Skillet Timing
For that real takeout-style crust, heat is everything. You don’t need a wok, but you do need:
- A heavy-bottomed skillet
- Neutral oil with a high smoke point, such as avocado or canola, is ideal for stir-frying.
- Preheat your pan until shimmering
Once the beef hits the pan, sear it, don’t stir it constantly. Let it sit, flip once, then remove.
If you love Asian stir-fries, check out this shrimp lo mein — it’s saucy, fast, and packed with flavor.
Variations You Can Try
One of the best things about this Mongolian beef recipe is how adaptable it is. You can keep the core method the same but switch up the ingredients to suit your cravings, dietary needs, or what’s in your fridge.
Spicy Mongolian Beef (Add Heat Your Way)
Want to kick up the flavor? There are a few easy ways to add heat without overpowering the dish:
- Add ½ to 1 teaspoon red pepper flakes to the sauce while simmering
- Stir in 1 tablespoon of sriracha or chili garlic sauce with the garlic
- Finish with a drizzle of chili crisp oil right before serving
It’s bold, balanced, and still delivers that classic sweet-savory combo with an extra punch.
Vegetarian or Vegan Mongolian Style
Yes — you can still enjoy this dish without beef. Here’s how:
| Substitute | Cooking Tips |
|---|---|
| Firm Tofu | Press, cube, coat with cornstarch, pan-fry until crispy |
| Seitan | Pre-cooked and meaty; slice thin and sauté |
| Mushrooms | Use shiitake or portobello for a savory umami-rich version |
Swap beef broth (if using) with vegetable broth, and use tamari or coconut aminos to keep it vegan and gluten-free.
One-Pan Sheet Mongolian Beef Hack
Short on time or don’t want to stand over a stove? Try this oven-baked shortcut:
- Toss beef in sauce and cornstarch
- Spread on a parchment-lined sheet pan
- Bake at 425°F (220°C) for 12–15 minutes
- Broil for 1–2 minutes for that sticky-glazed finish
It’s not 100% traditional, but it’s a great hands-off way to get similar flavors.
Storing & Reheating Mongolian Beef
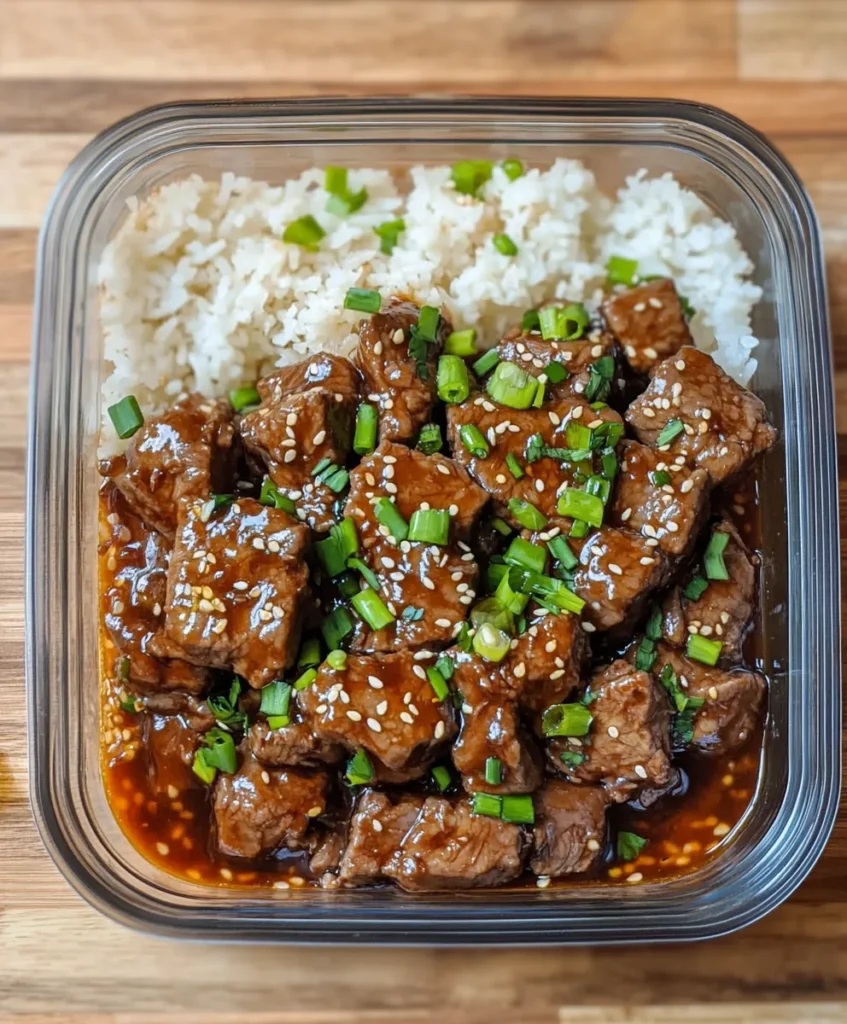
Leftovers? Lucky you. This Mongolian beef recipe stores and reheats beautifully if you follow a few simple tips.
How to Store Without Getting Soggy
Keep the beef and sauce separate from your rice or veggies when storing. Use airtight containers.
- Fridge: Good for 3–4 days
- Freezer: Store in a freezer-safe bag or container for up to 2 months
Label your container with the date — it’s an easy trick to avoid food waste.
Reheat Without Overcooking
Microwaves can zap all the texture out of stir-fried beef. Here’s how to reheat and keep it tender:
| Method | Instructions |
|---|---|
| Stovetop | Heat in a skillet with 1–2 tbsp water or broth, stir gently |
| Microwave | Cover loosely, heat in 30-second intervals, stir often |
| Air Fryer | 350°F for 2–3 minutes (great for reviving crispiness) |
Add a few fresh green onions or a drizzle of soy sauce to refresh the flavor.
Freezer Meal Tips
Want to prep ahead? You can freeze the raw, pre-sliced beef and sauce separately.
- Use freezer-safe bags or meal prep containers
- Freeze flat to save space
- Thaw overnight in the fridge before cooking
FAQs About Mongolian Beef Recipe
Is Mongolian beef spicy or sweet?
Mongolian beef is naturally sweet and savory, not traditionally spicy. The sweetness comes from brown sugar, which balances the salty soy sauce and aromatic garlic.
Want it spicy? You can easily add:
- Red pepper flakes
- Sriracha or chili garlic sauce
- Chili crisp oil
The beauty of this dish is its flexibility — keep it kid-friendly or make it fiery with one small tweak.
What’s the best cut of beef for Mongolian beef?
The goal is tenderness with a quick cook. Choose beef that stays juicy when sliced thin and cooked fast:
- Flank steak – Most popular choice
- Sirloin – Lean, tender, and flavorful
- Skirt steak – Great flavor, cooks quickly
Slice against the grain for best results.
Can I make Mongolian beef without cornstarch?
Yes — you can skip cornstarch or substitute it. While cornstarch gives the beef a silky coating and helps thicken the sauce, there are solid alternatives:
- Arrowroot powder (1:1 ratio)
- Tapioca starch
- Xanthan gum (use sparingly — ⅛ tsp)
You can also skip thickening entirely and let the sauce reduce naturally.
How do I make Mongolian beef gluten-free?
To make this Mongolian beef recipe gluten-free, simply:
- Swap regular soy sauce with tamari or coconut aminos for a gluten-free alternative.
- Ensure your cornstarch or thickener is gluten-free certified
Pair with cauliflower rice or steamed vegetables for a completely gluten-free meal.
Can I use frozen beef?
Yes, but thaw it fully first. Frozen beef works well if:
- You slice it before freezing (for meal prep)
- Let it thaw overnight in the refrigerator before cooking for best results.
- You pat it dry well before searing (moisture will cause steaming, not browning)
Frozen beef is convenient, but moisture control is key for that crispy sear.
How long does Mongolian beef last in the fridge?
Properly stored in an airtight container:
- In the fridge: Up to 4 days
- In the freezer: Up to 2 months
Pro Tip: Store the beef and sauce separately from rice or veggies to preserve texture.
Final Tips: How to Nail It Every Time
This Mongolian beef recipe is easy, fast, and packed with flavor — but here are a few final reminders to make sure yours turns out perfect every time.
Final Checklist for Success:
- ✅ Slice beef thin and against the grain
- ✅ Use high heat for fast searing
- ✅ Don’t crowd the pan — cook in batches
- ✅ Simmer the sauce, don’t boil it
- ✅ Add green onions at the end to enhance texture and bring a fresh pop of color.
Bonus Garnishes That Elevate the Dish
Want to take it to restaurant-level? Sprinkle on:
- Toasted sesame seeds
- Chopped green onions
- Chili oil drizzle
These add texture, aroma, and color — small touches that make a big difference.
Love saucy beef dishes? Our bold pepper steak recipe is another favorite packed with flavor and quick to cook.
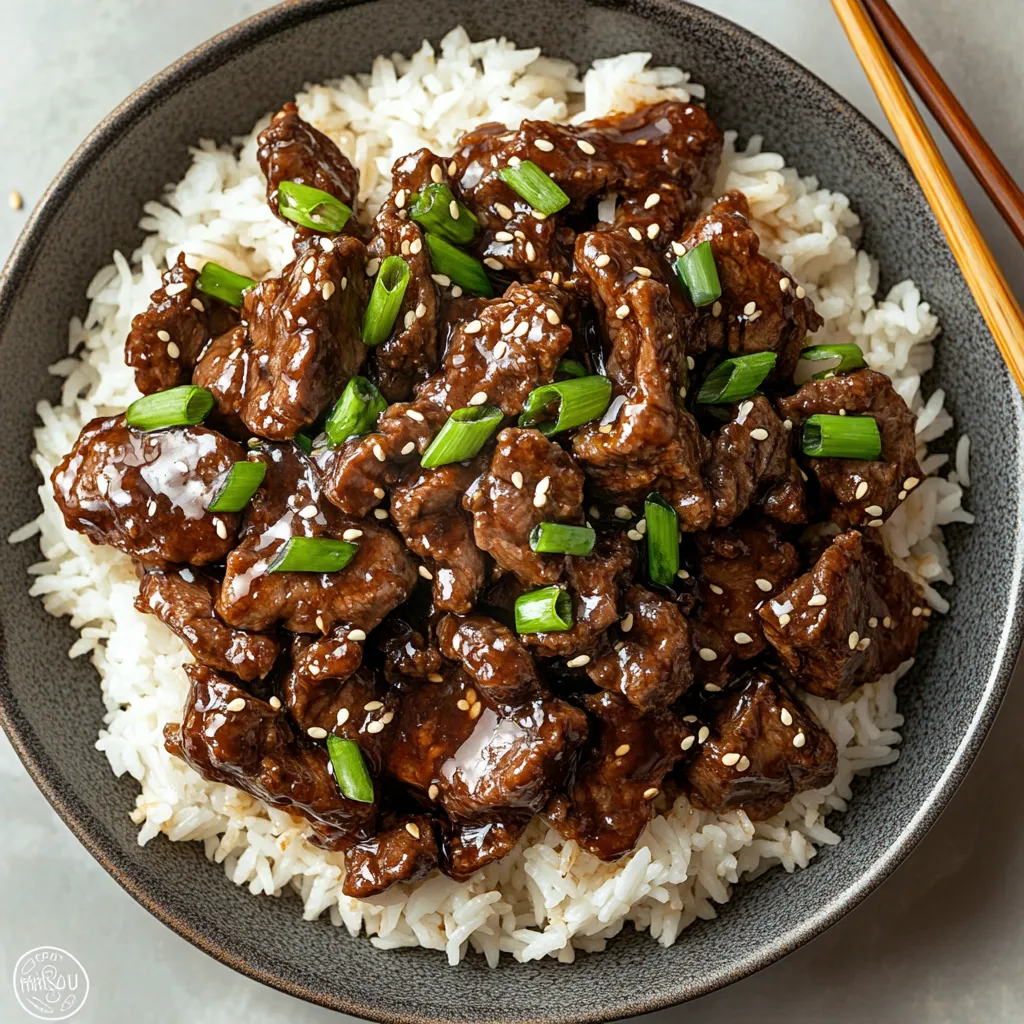
Mongolian Beef Recipe
Ingredients
Equipment
Method
- Slice the beef thinly against the grain and coat with cornstarch.
- Heat oil in a large skillet over high heat. Sear the beef in batches until browned, 2–3 minutes per side. Remove and set aside.
- Reduce heat to medium. Sauté garlic (and ginger, if using) until fragrant.
- Stir in soy sauce, brown sugar, and water. Simmer for 2–3 minutes until thickened.
- Return beef to the skillet and toss in the sauce until well-coated. Simmer for 1–2 more minutes.
- Stir in green onions, remove from heat, and serve immediately over rice or veggies.
Notes
- Slice your beef against the grain for tenderness.
- For a spicier version, add ½ tsp red pepper flakes or 1 tbsp sriracha to the sauce.
- Serve over steamed rice, cauliflower rice, or in lettuce wraps for a low-carb option.
- This recipe is meal-prep friendly and keeps well in the fridge for 3–4 days.


