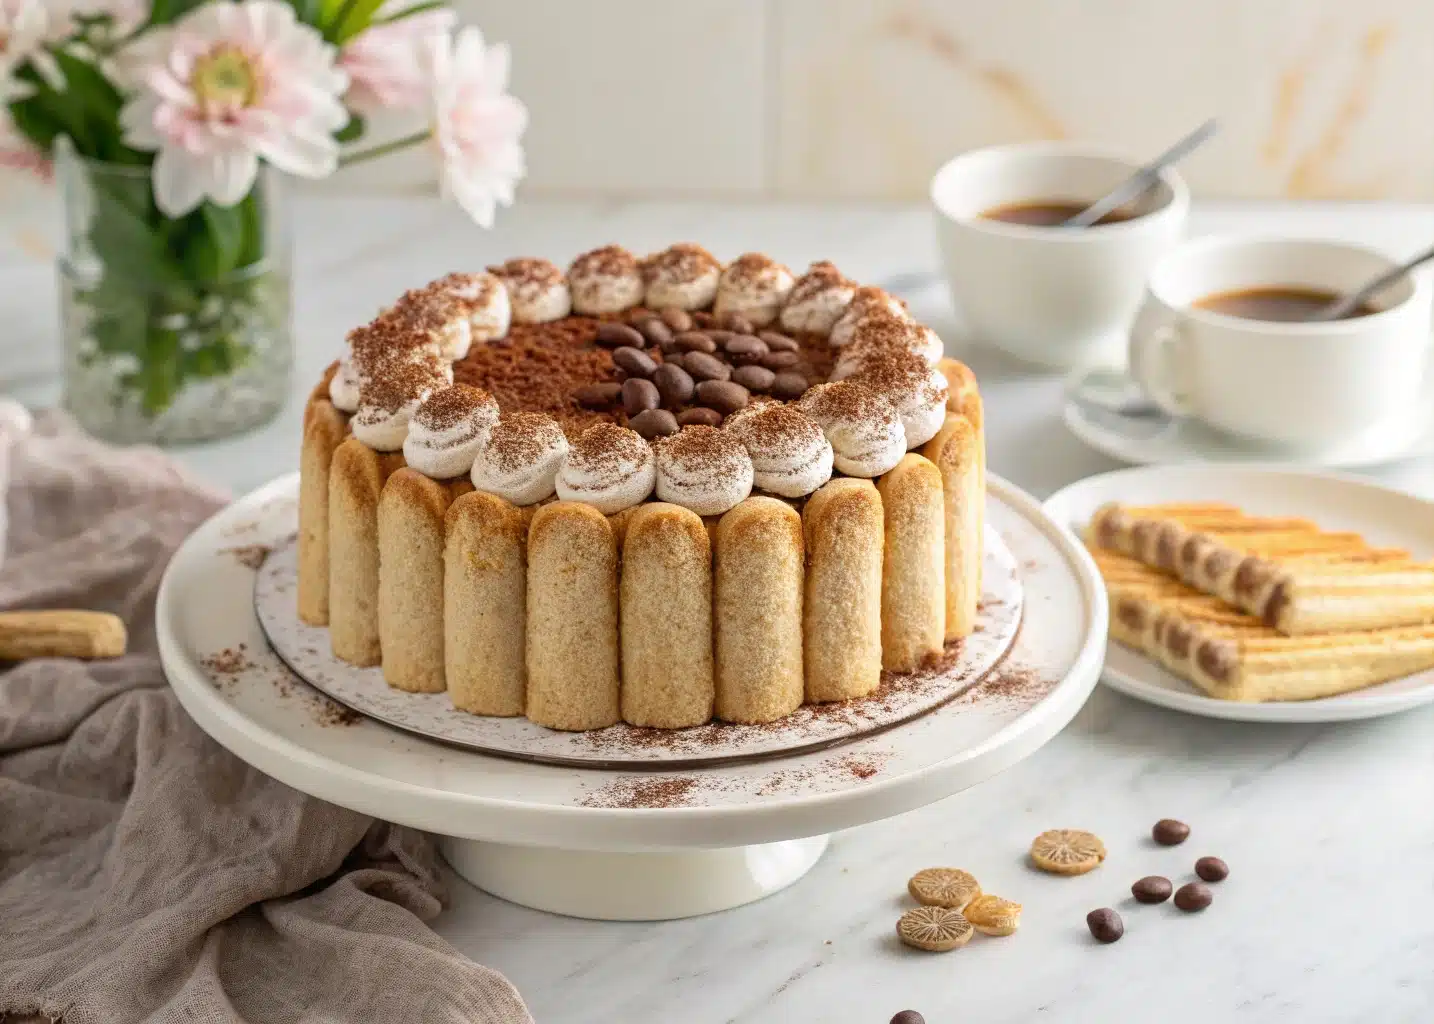
Tired of soggy tiramisu or flavorless sponge cakes? You’re not alone. Most so-called “easy” tiramisu cake recipes either fall flat or overdo it. But this version? It’s built different. This is your no-fail, sliceable Italian-inspired tiramisu cake — layered with bold espresso, fluffy mascarpone cream, and soft sponge that actually holds up.
Whether you’re baking for a party or just flexing your skills, this tiramisu cake delivers bakery-level results — no pastry degree required. Moist. Rich. Creamy. And it actually slices like a dream. Let’s get into it.
Table of Contents
Why This Tiramisu Cake Recipe Works (and Wins)
Classic Tiramisu vs. Tiramisu Cake: The Game-Changer
Traditional tiramisu is a chilled, no-bake dessert with espresso-soaked ladyfingers and mascarpone cream. Delicious? Absolutely. But not so great for slicing, stacking, or impressing at the table.
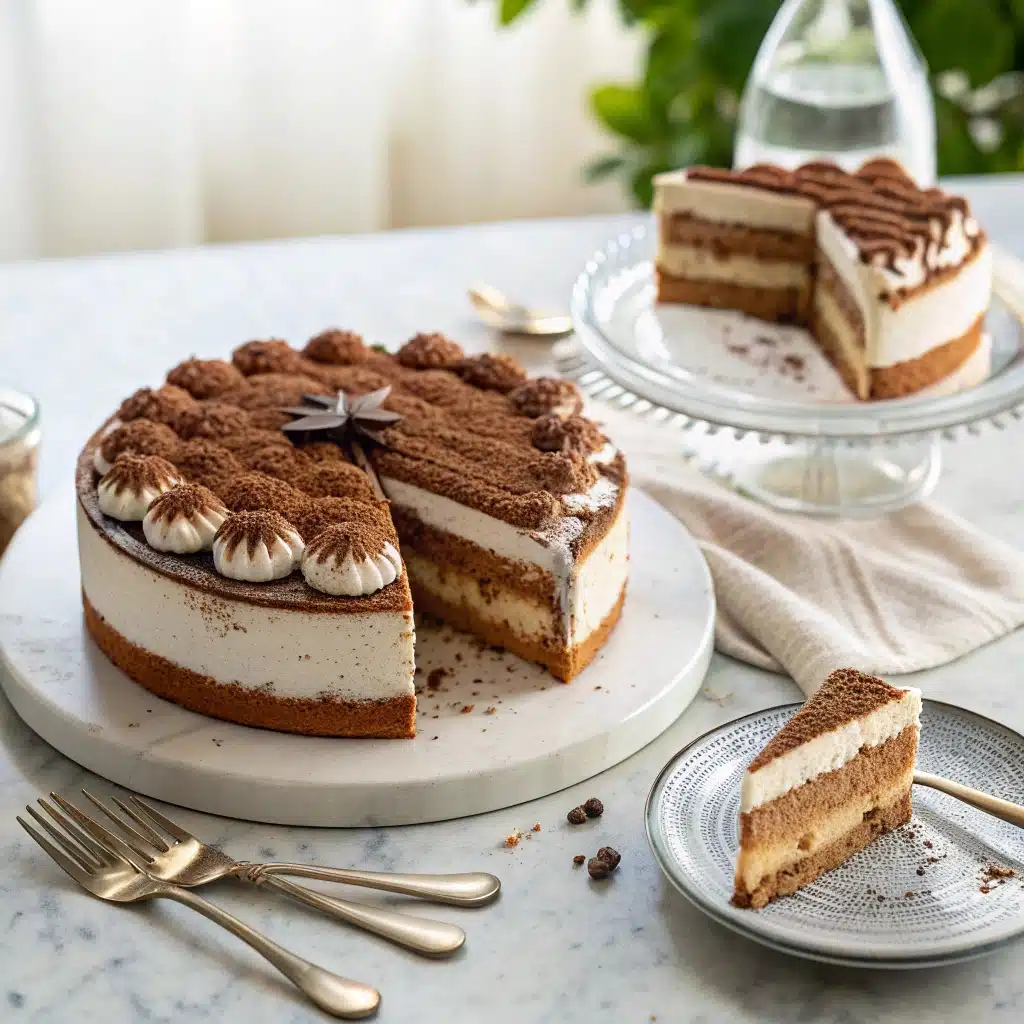
Enter the tiramisu cake. It takes the same flavors and reimagines them as a layered, structured dessert — perfect for birthdays, brunches, or any moment you want to serve something iconic without the mess.
With a proper sponge base instead of crumbling ladyfingers, this version is:
- Easier to portion
- More stable
- Still ultra-moist (never dry)
- Intensely flavorful — with real depth from espresso, mascarpone, and vanilla
Why This Is the One You’ll Make Again and Again
Here’s what makes this tiramisu cake bulletproof:
- It’s customizable — alcohol-free, gluten-free, or dairy-free if needed
- It’s balanced — not too sweet, not too bitter
- It’s built to chill — meaning it gets even better overnight
- It slices clean, making you look like a pro baker
This isn’t just another online tiramisu recipe. This is a recipe designed to win — with structure, flavor layering, and that wow factor most cakes miss.
Ingredients You’ll Need for a Legendary Tiramisu Cake
The Core Build: What You Must Have
No fluff. Just the right ingredients in the right ratios.
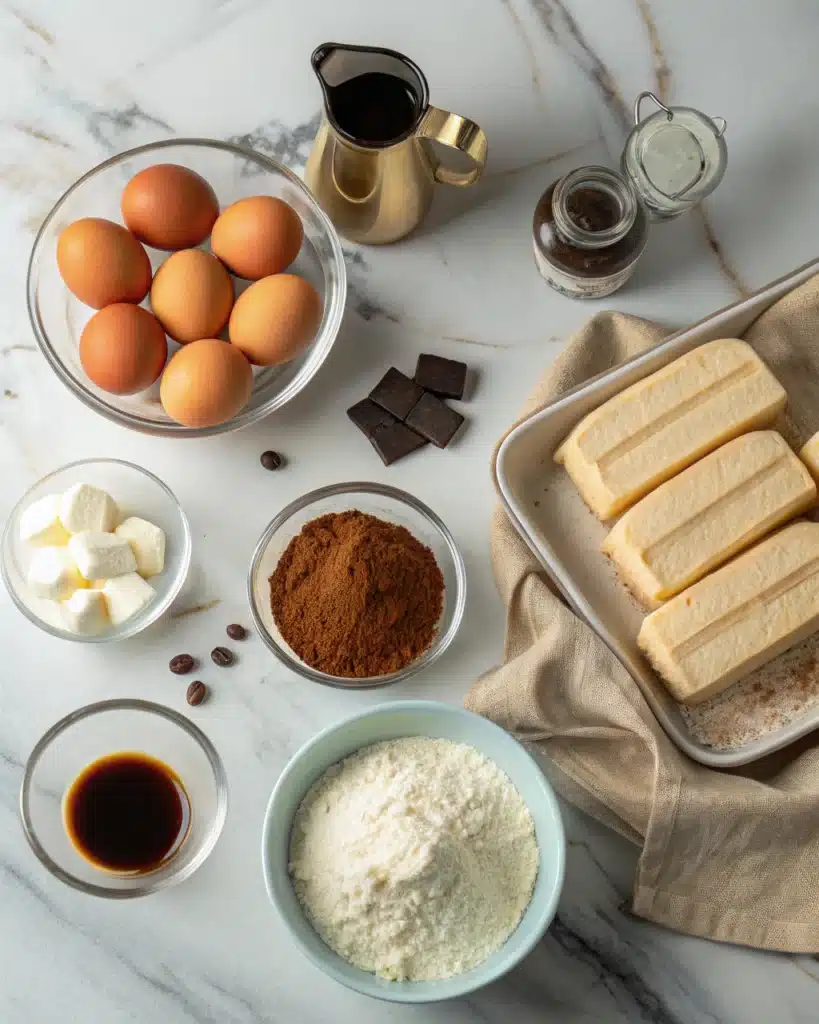
| Ingredient | Amount | What It Does |
|---|---|---|
| Eggs (large) | 6 | Builds the sponge and richness |
| Sugar | 1 cup (200g) | Sweetens and stabilizes |
| Cake Flour | 1 cup (120g) | Gives the sponge its soft, light crumb |
| Mascarpone Cheese | 16 oz | Creates the signature creamy layer |
| Heavy Cream | 1 cup (240ml) | Lightens the mascarpone for smoothness |
| Espresso/Coffee | ¾ cup (180ml) | Injects deep flavor between cake layers |
| Cocoa Powder (unsweetened) | For topping | Finishes with bitter-sweet contrast |
| Vanilla Extract | 2 teaspoons | Rounds and warms up the overall flavor |
Pro Options and Smart Swaps
- Want a boozy hit? Add 2 tbsp of dark rum or Kahlúa to your espresso soak
- Dairy-free version? Swap mascarpone for a cashew cream and coconut whip
- Gluten-free? Use a 1:1 GF flour mix with a bit of xanthan gum for lift
- Sugar control? Replace granulated sugar with a 1:1 monk fruit sweetener
You can customize it, but don’t cut corners. The cake rises or falls based on the quality of mascarpone and strength of your espresso.
How to Make Tiramisu Cake Like a Pro
Let’s be clear — this isn’t complicated. But to get a clean cut and rich flavor, you need to respect the process. Here’s how to get that golden, bakery-tier finish.
Step 1: Bake the Sponge Cake Layers
Forget ladyfingers. We’re building a light, absorbent sponge from scratch. It holds its shape, drinks in espresso, and slices like silk.
Instructions:
- Preheat oven to 350°F (175°C). Line two 8-inch cake pans with parchment paper.
- Separate 6 eggs.
- In Bowl A: Beat yolks + ½ cup sugar until pale and fluffy.
- In Bowl B: Beat whites + remaining ½ cup sugar to stiff peaks.
- Gently fold whites into yolk mixture.
- Sift in cake flour. Fold just until incorporated.
- Divide into pans. Bake 20–22 minutes.
- Cool fully before slicing or stacking.
Result? A golden sponge that’s airy, strong, and thirsty for espresso.
Step 2: Make the Mascarpone Filling
Whip it right, and your cream will be silky — not soupy.
Instructions:
- Whip 1 cup heavy cream until soft peaks form.
- In another bowl, beat mascarpone with ¼ cup sugar and vanilla extract.
- Fold whipped cream into mascarpone mix until smooth. Chill for 10–15 minutes.
Pro tip: Don’t over-whip. You want creaminess, not graininess.
Step 3: Espresso Soak + Cake Assembly
Here’s where the real flavor comes alive.
Espresso Syrup:
- Mix ¾ cup espresso with 1 tbsp sugar.
- Optional: Add 2 tbsp Kahlúa for depth. Let cool.
Assembly:
- Slice both cakes horizontally — you now have 4 sponge layers.
- Place bottom layer on a serving plate. Brush generously with espresso syrup.
- Spread mascarpone cream evenly on top.
- Repeat: soak, layer, spread.
- Top layer: mascarpone cream + a heavy dusting of cocoa powder.
- Chill at least 6 hours (overnight is best).
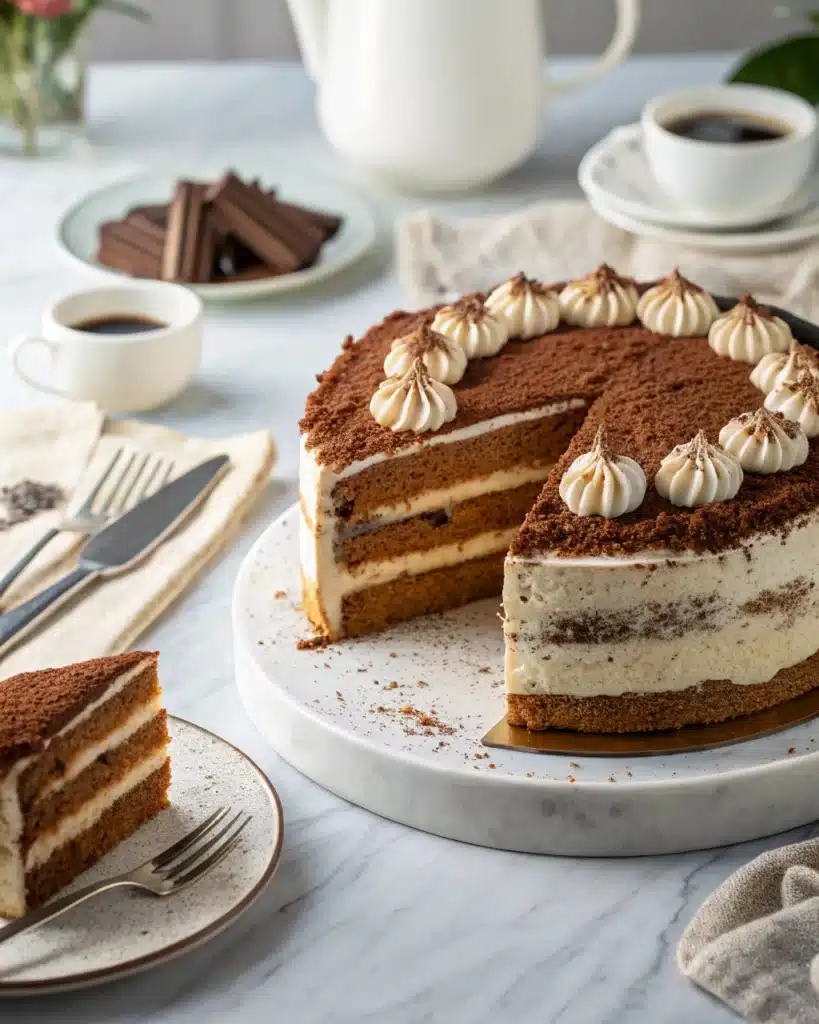
What do you get? A layered masterpiece that cuts clean, stands tall, and tastes even better than it looks.
Pro Tips to Make the Perfect Tiramisu Cake
Want to go from “good” to unforgettable? These pro-level strategies will give your tiramisu cake that bakery-finish people rave about.
Avoiding a Soggy Cake
- Brush, don’t pour: The biggest mistake? Over-soaking. Use a pastry brush to apply espresso — this gives flavor without flooding the sponge.
- Cool espresso only: Never apply hot espresso to a fresh sponge. You’ll ruin the structure. Cool it to room temp before use.
- Use firm, cooled cake: Chill your sponge layers before assembling. This helps them absorb espresso evenly without breaking apart.
Getting the Cream Just Right
- Whip your cream separately: Don’t try shortcuts. Always whip cream first, then fold into mascarpone for an airy but stable texture.
- Don’t skip the chill: After assembly, chill your cake a minimum of 6 hours. This is when the flavors deepen and layers firm up.
- Cocoa at the end: Dust cocoa powder right before serving so it stays fresh and doesn’t melt into the frosting.
Tools That Make It Easy
| Tool | Why It Helps |
|---|---|
| Offset spatula | Smooths cream layers perfectly |
| Cake ring or acetate | Helps build neat, tall layers |
| Pastry brush | Controls espresso application |
| Serrated knife | Gives a clean, no-crumble slice |
Your guests won’t believe it came out of your kitchen — it’ll taste and look like it came from a pastry boutique.
Easy Tiramisu Cake Variations You’ll Love
Tiramisu is a classic, but that doesn’t mean you can’t mix things up. These creative spins on the traditional recipe let you play with flavor while keeping the structure tight and delicious.
Chocolate Tiramisu Cake
Add 2 tablespoons of cocoa powder to the sponge batter. Use a layer of chocolate ganache between the mascarpone cream for a rich, decadent upgrade.
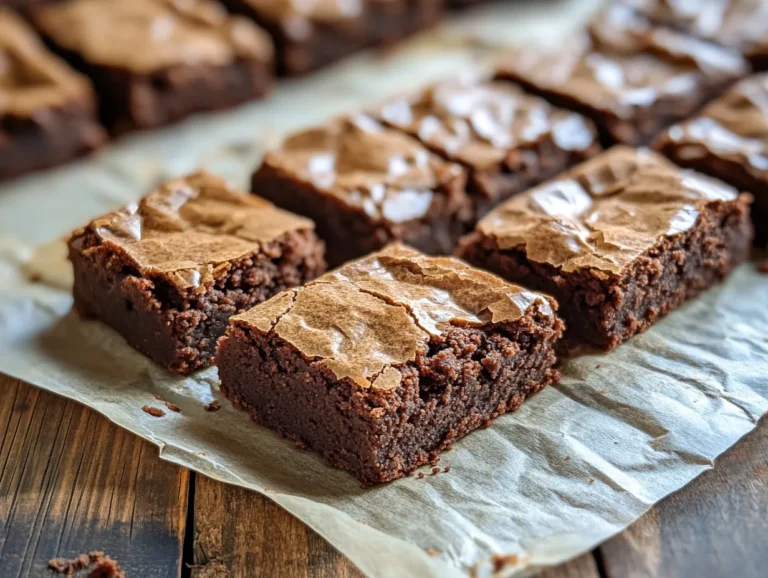
Or, for a fudgier layered dessert, check out our Brownie Cake Recipe — rich, dense, and unforgettable.
No-Bake Tiramisu Cake (for Hot Days)
Skip the sponge and layer espresso-dipped ladyfingers with mascarpone cream in a springform pan. Chill overnight — no oven required.
Strawberry Tiramisu Cake
Swap the espresso for a sweet homemade strawberry syrup, then layer in slices of fresh strawberries between each mascarpone layer. The result? A fruity, refreshing twist on the classic — lighter, brighter, and perfect for spring or summer gatherings. It keeps the creamy elegance of tiramisu but adds a pop of berry flavor that makes it unforgettable.
Matcha Tiramisu Cake
Swap out cocoa for matcha powder and soak the sponge in sweetened green tea. It’s earthy, vibrant, and unforgettable.
Tiramisu Cupcakes or Mini Cakes
Make individual portions using cupcake molds or dessert rings. Perfect for parties, and they chill faster too.
Creativity counts in baking — but these ideas are tested to work. No flop, no fail, no regrets.
Common Mistakes When Making Tiramisu Cake
Let’s get brutally honest: most failed tiramisu cakes don’t flop because of the recipe — they flop because of avoidable errors. Here’s what to steer clear of.
Mistake #1: Over-Soaking the Sponge
Using too much liquid is the fastest way to a mushy mess. Your sponge should be moist, not drenched. If espresso pools on the plate, you’ve gone too far.
Mistake #2: Using Low-Quality Mascarpone
Cheap mascarpone can be grainy, watery, or tangy. Choose a high-fat version with a creamy, smooth finish. It’s the heart of this dessert.
Mistake #3: Not Letting the Cake Set
Tiramisu cake needs time to chill. That’s when the espresso seeps through, the cream firms up, and everything holds together. Skip this, and you’ll regret it the moment you slice.
Mistake #4: Rushing the Whipping Process
If you overwhip your cream, it’ll separate. Under-whip it, and your layers will collapse. Go slow, check texture, and fold carefully.
Mistake #5: Using Cold Sponge When Whipping Eggs
If you’re baking your sponge from scratch, room-temp eggs and gentle folding are key to a light texture. Cold eggs = dense cake.
Serving Suggestions & Presentation Ideas
Presentation isn’t just about looks — it’s about experience. The way you serve your tiramisu cake can transform a casual dessert into a showstopper.
How to Garnish for That Bakery Finish
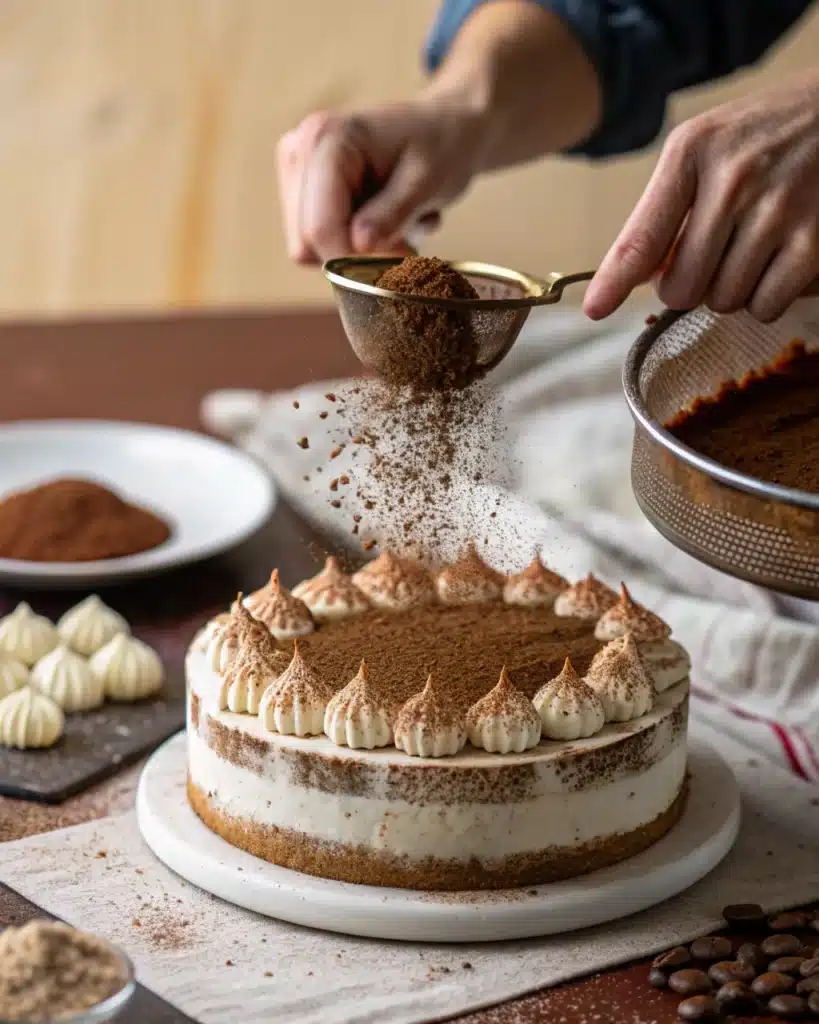
- Cocoa Powder: For the best finish, always dust cocoa powder just before serving. Use a fine mesh sieve to create an even, professional-looking layer that won’t melt into the cream too soon.
- Chocolate Shavings: Use a vegetable peeler to shave dark chocolate curls across the top.
- Espresso Beans: A few whole beans or chocolate-covered espresso beans add class and crunch.
- Piped Cream: For a pro look, pipe extra mascarpone cream or whipped cream around the edge.
Slicing and Plating Like a Pro
- Chill cake overnight for cleaner cuts. Use a hot knife (run under hot water, then dry) to slice.
- Serve each piece on a chilled dessert plate — it keeps the cream firm longer.
- For a restaurant-level finish, dust cocoa on the plate itself and add a drizzle of coffee syrup or caramel.
Whether you’re serving it at a dinner party or slicing up seconds at home, the goal is simple: make it look as good as it tastes.
How to Store Tiramisu Cake Properly
If you’ve put in the effort, don’t let poor storage ruin it. Here’s how to keep your tiramisu cake tasting bakery-fresh.
Fridge Storage
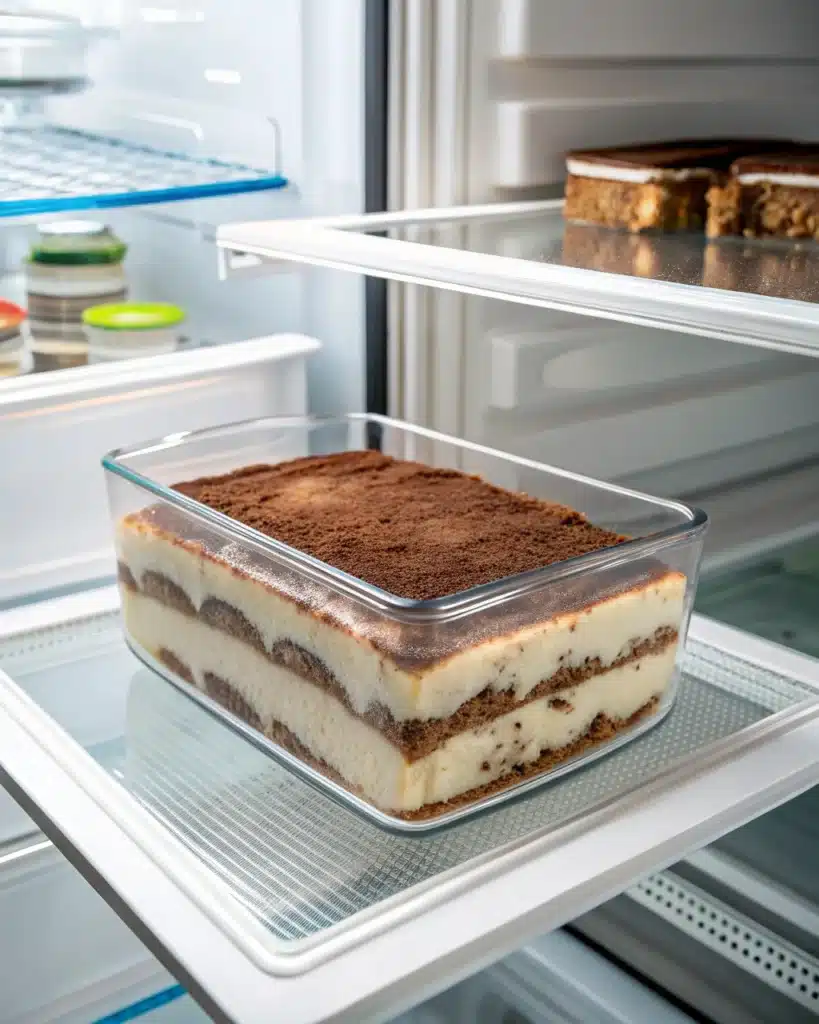
- Refrigerate tightly covered for up to 4 days.
- Use a cake dome or airtight container to prevent drying and flavor absorption.
- Skip plastic wrap directly on top — it clings and spoils the surface.
Freezing Tips (Yes, You Can!)
- Freeze tiramisu cake only before adding the cocoa topping.
- Wrap each slice tightly in plastic wrap and foil.
- Place wrapped slices in an airtight container to avoid freezer burn.
- Thaw in the refrigerator overnight. Add cocoa powder right before serving.
Can You Make Tiramisu Cake Ahead of Time?
Absolutely. In fact, you should.
- The flavor gets deeper after 24 hours
- The texture firms up for neater slices
- It reduces last-minute stress when entertaining
Make it the night before. Serve like a star the next day.
FAQs About Tiramisu Cake
Can I make tiramisu cake without alcohol?
Yes. Just skip the alcohol in the espresso soak. You’ll still get rich flavor from the coffee, vanilla, and mascarpone. Great for family-friendly versions.
What’s the best substitute for mascarpone?
You can use a mix of cream cheese + heavy cream + sour cream as a substitute (in equal parts). However, nothing beats authentic mascarpone in texture and taste.
Can kids eat tiramisu cake?
If made without alcohol, absolutely. Just make sure the espresso is decaf if caffeine sensitivity is a concern.
Why is my tiramisu cake watery or runny?
You may have over-whipped or under-whipped your cream, used warm mascarpone, or skipped the chill time. Follow the timing closely — and always chill fully before slicing.
Is tiramisu cake better the next day?
Definitely. The layers meld, the espresso infuses deeper, and the cream sets to the perfect texture. Overnight chilling = best flavor.
Can I use store-bought sponge or ladyfingers?
You can, but your structure may suffer. Store-bought sponges can be too dry or brittle. Homemade gives you better control and texture.
Conclusion: A Tiramisu Cake That Actually Delivers
This tiramisu cake isn’t just a recipe — it’s a statement dessert. With balanced sweetness, rich espresso depth, and a silky mascarpone cream layered between soft sponge, you’re giving your guests something unforgettable.
It’s the kind of cake people talk about. The one that disappears first. The one they ask you to bring again.
And the best part? You made it from scratch, with ease. Whether you stick to the classic or try one of the bold variations, this tiramisu cake will always rise to the occasion.
Want a lighter but still creamy option? Our Fruit Salad with Cool Whip is a crowd-pleaser that’s ready in minutes.
Tiramisu Cake Recipe
Ingredients
Equipment
Method
- Preheat oven to 350°F (175°C). Line two 8-inch cake pans with parchment.
- Separate eggs. Beat yolks with half the sugar until thick and pale.
- In another bowl, beat egg whites with the remaining sugar to stiff peaks.
- Fold whites into yolks, then gently fold in sifted flour.
- Divide batter into pans and bake for 20–25 minutes. Let cool completely.
- Whip heavy cream to soft peaks.
- In another bowl, beat mascarpone, vanilla, and sugar until smooth.
- Fold in whipped cream. Chill for 10–15 minutes.
- Stir espresso, sugar, and liqueur (if using) together. Let cool.
- Slice both sponge cakes horizontally to make 4 layers.
- Place one layer on a serving plate. Brush generously with espresso syrup.
- Spread mascarpone filling evenly. Repeat with remaining layers.
- Top with final layer and spread mascarpone over the top and sides.
- Chill cake for at least 6 hours or overnight.
- Dust with cocoa powder before serving. Slice and enjoy.
Notes
- Make ahead: Best flavor develops after chilling overnight.
- Alcohol-free: Simply omit Kahlúa from espresso syrup.
- Gluten-free: Use a 1:1 gluten-free flour blend with ½ tsp xanthan gum.
- Storage: Keeps in fridge for 4 days. Freeze before adding cocoa if needed.


