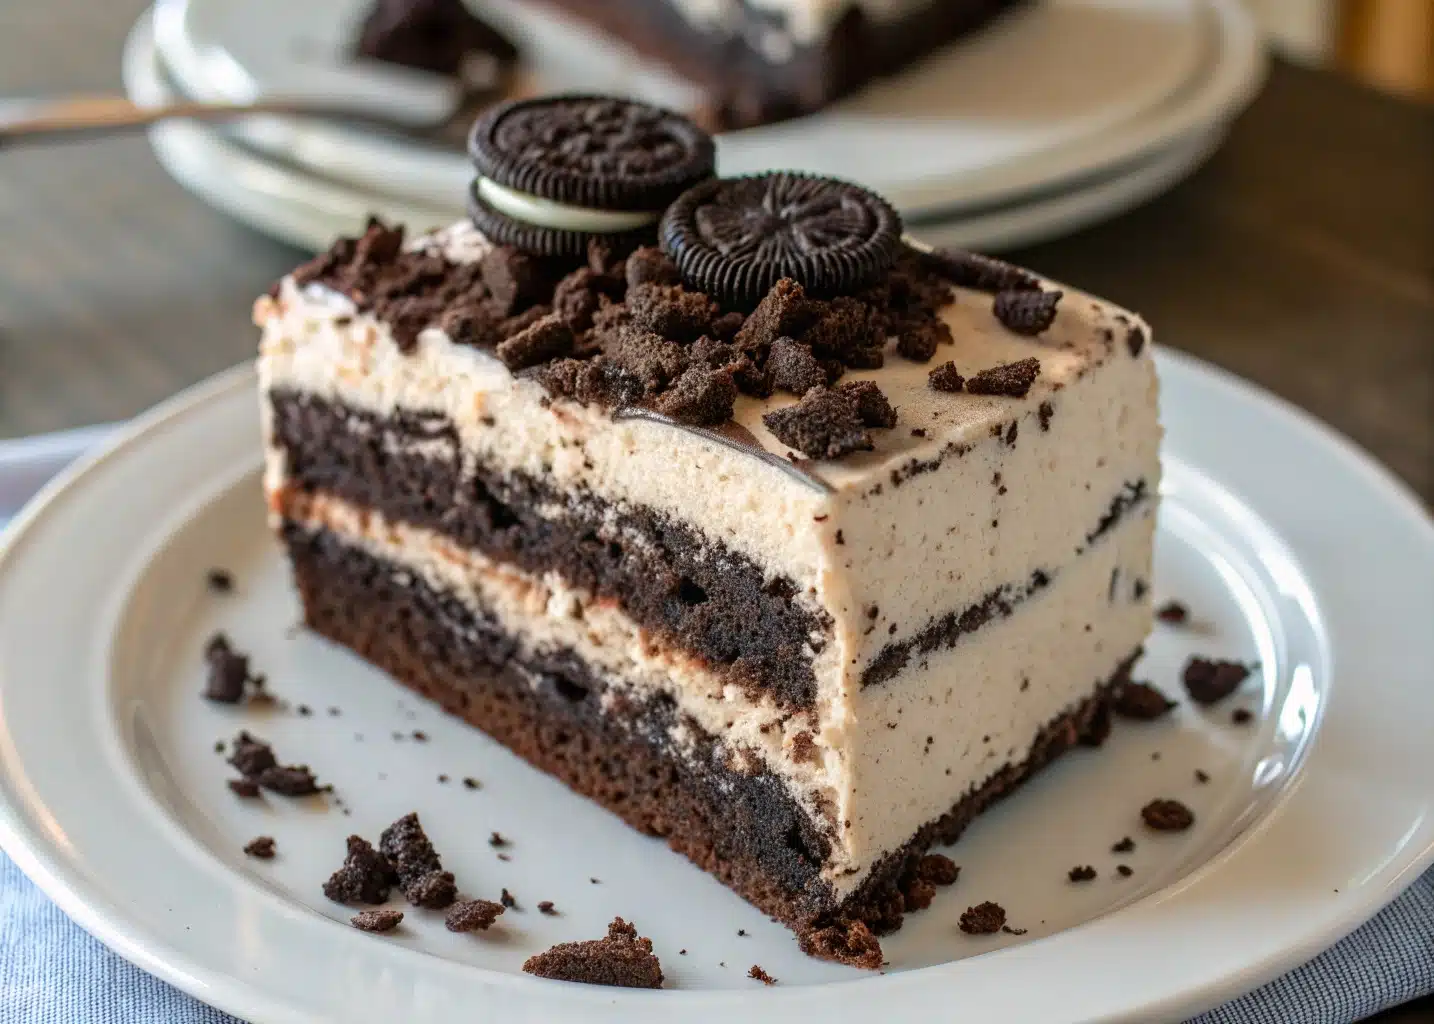
You’re not here for an average dessert. You’re here to make an Oreo cake that turns heads — moist, rich, and unforgettable. This isn’t your typical “quick fix” recipe. It’s the real-deal, created with precision, flavor science, and the exact methods that get featured across food blogs and social media feeds.
This Oreo cake delivers:
- A tender chocolate base packed with real crushed Oreos
- Creamy, dreamy cookies-and-cream frosting
- Foolproof techniques for pro-level presentation
By the time you’re done reading, you won’t just know how to bake Oreo cake — you’ll know how to master it. Let’s get to it.
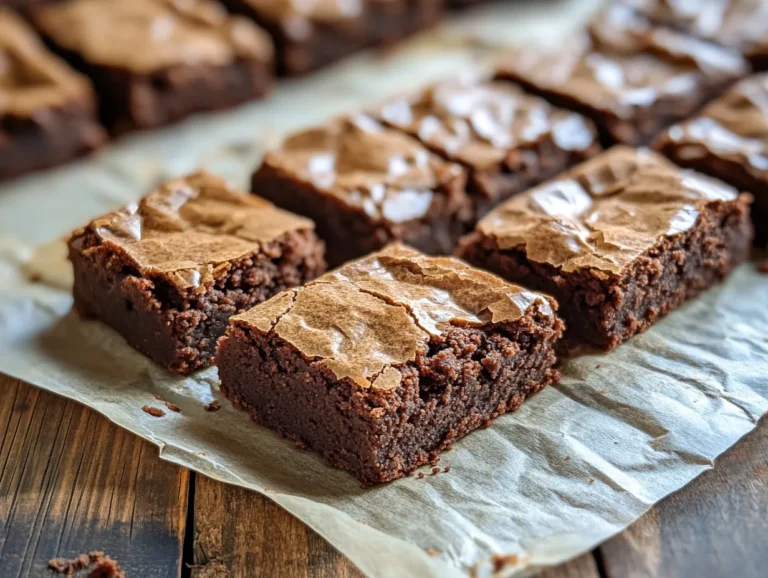
If you love layered chocolate desserts, you’ll also want to try our Brownie Cake Recipe — rich, fudgy, and just as show-stopping.
Table of Contents
Oreo Cake Overview — Why This Recipe Works
What Makes This Oreo Cake Irresistible
This Oreo cake recipe has one job: to taste and look better than any cake you’ve bought. It’s built on the classic flavor combo of cream and chocolate — but with real texture, richness, and structure. Here’s what sets it apart:
- Layered Oreo flavor in the batter and the frosting
- Moist, tender cake crumb thanks to oil and buttermilk
- Balanced sweetness that’s rich without being heavy
- Visual appeal with bold textures, crumbs, and height
This is more than just a cookies-and-cream cake. It’s a bakery-style masterpiece made in your kitchen — without hard-to-find ingredients or fancy techniques.
Why “Oreo Cake” Is Exploding in Search Trends
Oreo cake has become one of the most requested desserts in both home kitchens and professional bakeries. People are looking for nostalgia with a twist — and Oreo delivers just that.
From TikTok trends to birthday party tables, Oreo cake stands out. It looks indulgent, tastes like comfort, and satisfies that craving for something familiar but elevated. That’s exactly why this guide is structured to not just meet that demand — but rank above the rest.
Ingredients Breakdown — Get the Richest Flavor
Must-Have Ingredients for the Ultimate Oreo Cake
Quality ingredients = better cake. Here’s what to use — and why it matters.
| Ingredient | Purpose |
|---|---|
| All-purpose flour | Gives the cake structure and balance |
| Cocoa powder | Adds deep chocolate flavor without overwhelming sweetness |
| Baking powder + soda | Provides lift and softness |
| Granulated sugar | Sweetens while creating a golden crust |
| Buttermilk | Adds tang, softness, and keeps the cake moist |
| Eggs | Binds the batter and adds richness |
| Vegetable oil | Keeps the crumb soft, even after chilling |
| Vanilla extract | Enhances the Oreo flavor profile |
| Crushed Oreos (with filling) | Delivers that authentic cookies-and-cream taste |
Important: Use regular Oreo cookies, not the thins or flavored versions unless customizing. The filling in standard Oreos helps with both moisture and fat content in the batter.
Substitutions & Adjustments (Tested + Approved)
If you need to adapt the recipe, don’t worry — we’ve got pro-level substitutions:
- No buttermilk? Use 1 cup milk + 1 tbsp vinegar
- No eggs? Replace each with ¼ cup yogurt or applesauce
- Want less sugar? Reduce granulated sugar by ¼ cup (no impact on texture)
- Vegan option? Use non-dairy milk + flax eggs and plant-based butter
Pro Tip: Always crush Oreos finely but not into dust — you want texture, not sogginess.
Essential Tools You Need for Perfect Layers
Tools That Transform Your Oreo Cake
Your cake is only as good as your tools. If you’re baking this with a bent spoon and scratched pan — don’t. Step up your baking game with these essentials:
| Tool | Use |
|---|---|
| 8-inch or 9-inch cake pans | Standard size for professional layers |
| Mixing bowls (various) | Helps separate wet and dry ingredients cleanly |
| Rubber spatula | Perfect for folding Oreos without crushing texture |
| Electric hand mixer | Achieves smooth, airy batter and frosting |
| Cooling racks | Prevents soggy bottoms after baking |
| Offset spatula | Critical for spreading frosting neatly and evenly |
| Serrated knife | Levels your cake layers for that perfect bakery look |
Tools to Avoid (Trust Me)
- Glass pans: Uneven baking, often leads to overbaking edges
- Small or warped pans: Ruin your rise and make stacking a nightmare
- Plastic mixing spoons: Can’t handle thick batters and often bend
Baker’s Insight: Leveling your cake layers with a serrated knife is the difference between a homemade cake and a professional-looking one.
Step-by-Step Oreo Cake Recipe (Exact Instructions)
Prep Like a Pro
Before you mix a thing, preheat your oven to 350°F (175°C) and grease your cake pans. Then line them with parchment paper circles. This step alone can save you from broken layers.
Here’s what you need to do:
Step 1: Combine Dry Ingredients
In a large mixing bowl, whisk together:
- 2 cups all-purpose flour
- ¾ cup unsweetened cocoa powder
- 1½ tsp baking powder
- 1½ tsp baking soda
- ½ tsp salt
Whisk until fully blended to avoid clumps later.
Step 2: Mix Wet Ingredients
In another bowl, beat together:
- 1 cup granulated sugar
- ½ cup packed brown sugar
- ¾ cup vegetable oil
- 2 large eggs
- 1 tsp vanilla extract
- 1 cup buttermilk
- ½ cup hot water
Note: Hot water helps bloom the cocoa and gives you deeper chocolate flavor.
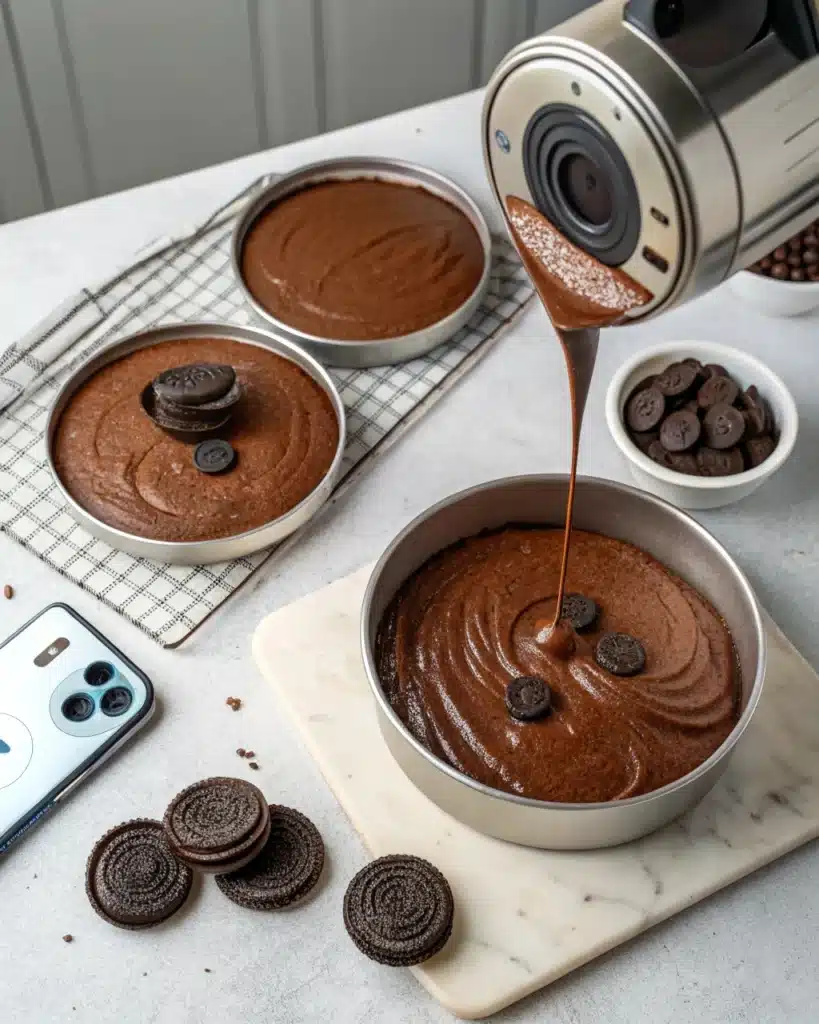
Step 3: Fold in the Star Ingredient
Gently stir in:
- 1 cup crushed Oreos (medium-fine, filling included)
Don’t overmix — just fold until incorporated. Overworking it can collapse the batter.
Step 4: Bake It Right
Evenly divide the batter between two prepared 8-inch or 9-inch round cake pans. Bake them in a preheated oven at 350°F (175°C) for 28 to 32 minutes, or until a toothpick inserted into the center comes out with only a few moist crumbs attached.
Let the cakes cool in the pans for 10 minutes, then carefully remove them and transfer to a wire rack to cool completely before frosting.
Oreo Buttercream Frosting — The Ultimate Guide
Let’s talk frosting — because what’s Oreo cake without that fluffy, cookies-and-cream crown?
Ingredients for Oreo Buttercream
- 1½ cups unsalted butter, room temperature
- 4 cups powdered sugar (sifted)
- 2 tbsp heavy cream or milk
- 1½ tsp pure vanilla extract
- 1¼ cups crushed Oreos (very fine, almost powder)
- Pinch of salt
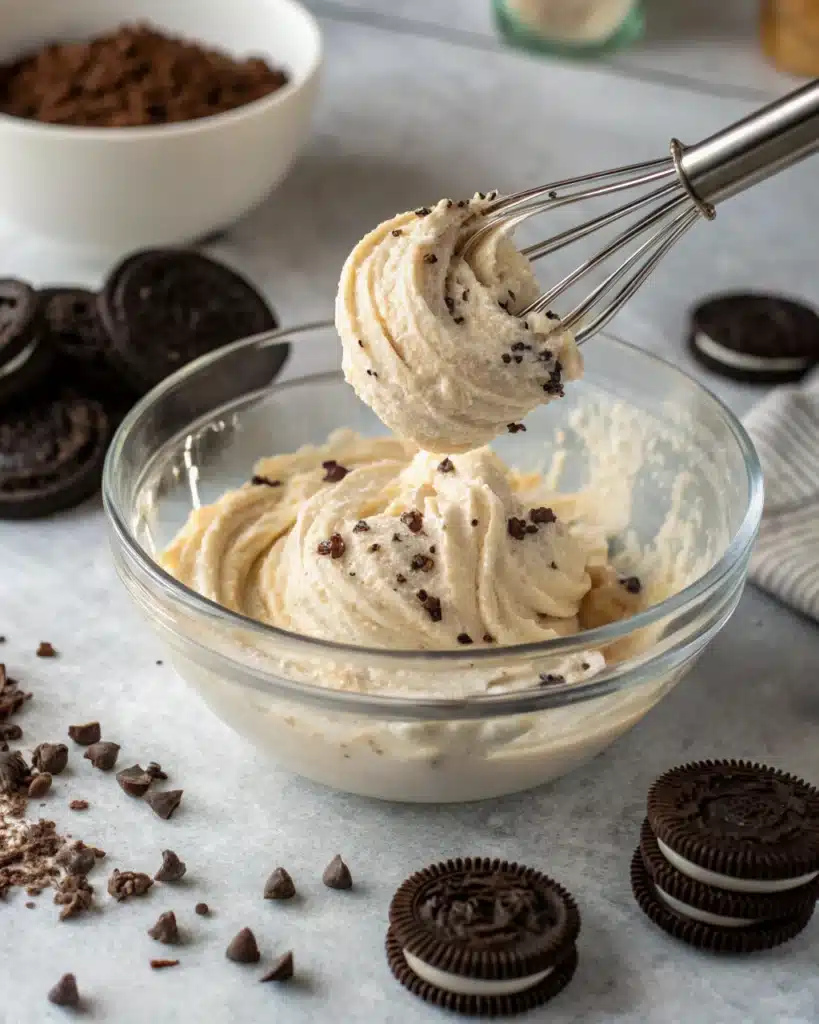
Step-by-Step Frosting Method
- Whip the butter on medium-high for 3–4 minutes until light and creamy.
- Add powdered sugar gradually, mixing on low to avoid clouds of sugar.
- Add vanilla, cream, and salt, then beat for another 2–3 minutes.
- Fold in the crushed Oreos, but don’t overmix — just enough to combine.
Texture Tip:
Use finely crushed Oreos — almost like sand. This prevents chunk clogs in piping tips and ensures the frosting spreads silky smooth.
Want extra drama? Mix in an extra tablespoon of cocoa powder for a more chocolatey base.
Cake Layering, Stacking, and Crumb-Coating
This is where good cakes become great. Stacking and crumb-coating separate casual bakes from polished, show-stopping centerpieces.
Step 1: Level Your Cake Layers
Use a serrated knife or cake leveler to trim off any domed tops. Even layers = stable cake and clean slices.
Step 2: Apply the Crumb Coat
Spread a thin layer of frosting over the first cake layer and on the sides — just enough to trap crumbs. Chill for 20–30 minutes to set.
Step 3: Final Frosting + Decorate
Add a thicker layer of frosting over the chilled cake, smoothing with an offset spatula. Now decorate like you mean it:
- Top with whole Oreos
- Add crushed Oreos to the sides for texture
- Use a piping bag for rosettes or edges
- Optional: drizzle with melted chocolate for a bakery finish
Step 4: Chill Before Serving
Let the fully frosted cake chill for 30–45 minutes before slicing. This sets the structure and intensifies the flavor.
Decorating Tips to Go Viral (IG-Worthy Finish)
This isn’t just baking — this is visual branding. Your cake needs to look like it was shipped in from a boutique bakery. Here’s how to make it not just delicious, but share-worthy.
The Full-Crumb Coating Method
After the final coat of frosting:
- Press crushed Oreos onto the side of the cake using your hand or a spoon.
- For a “drip edge,” press the crumbs right above the bottom third of the cake.
This adds texture and contrast, making your cake stand out even on crowded feeds.
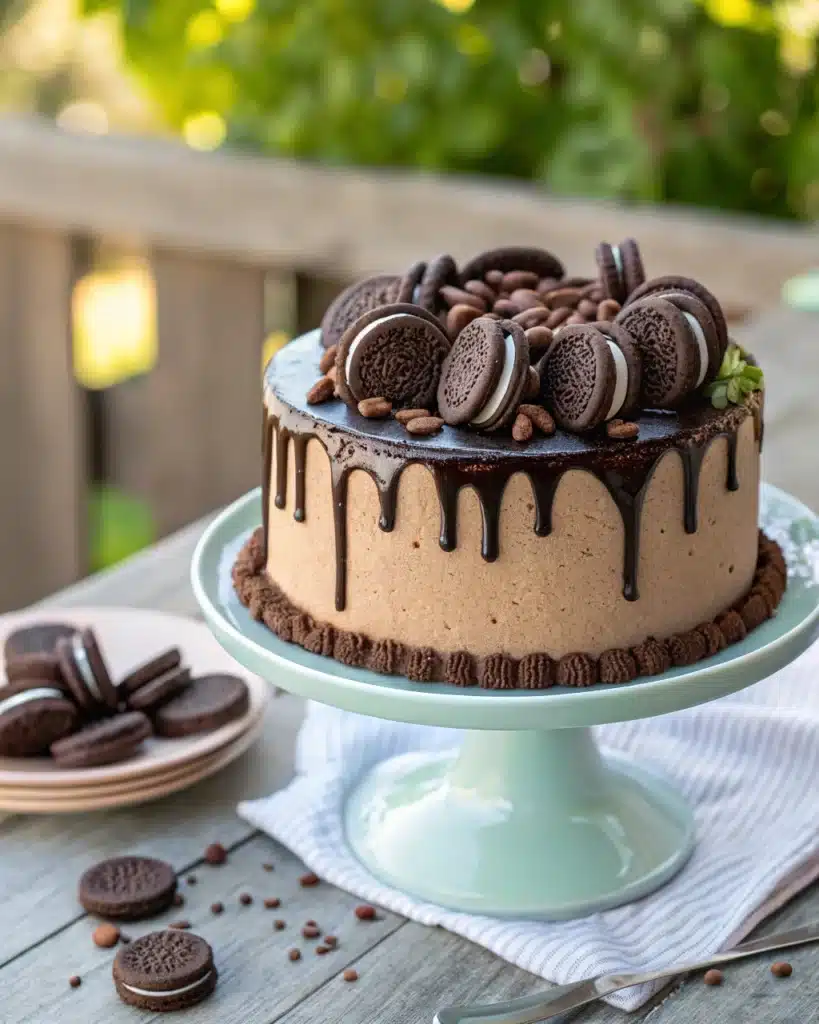
Add a Crown of Whole Oreos
Top the cake with whole Oreos evenly spaced around the edge. For extra height and drama, sandwich whipped cream or frosting between two cookies before placing.
Chocolate Ganache Drizzle (Optional but Gorgeous)
Melt together ½ cup chocolate chips and ¼ cup heavy cream until smooth. Pour the mixture onto the center of the cake, gently guiding it outward to create light drips down the sides. Allow it to set before topping with cookies.
Piping Details
Use a star-tip piping bag to add:
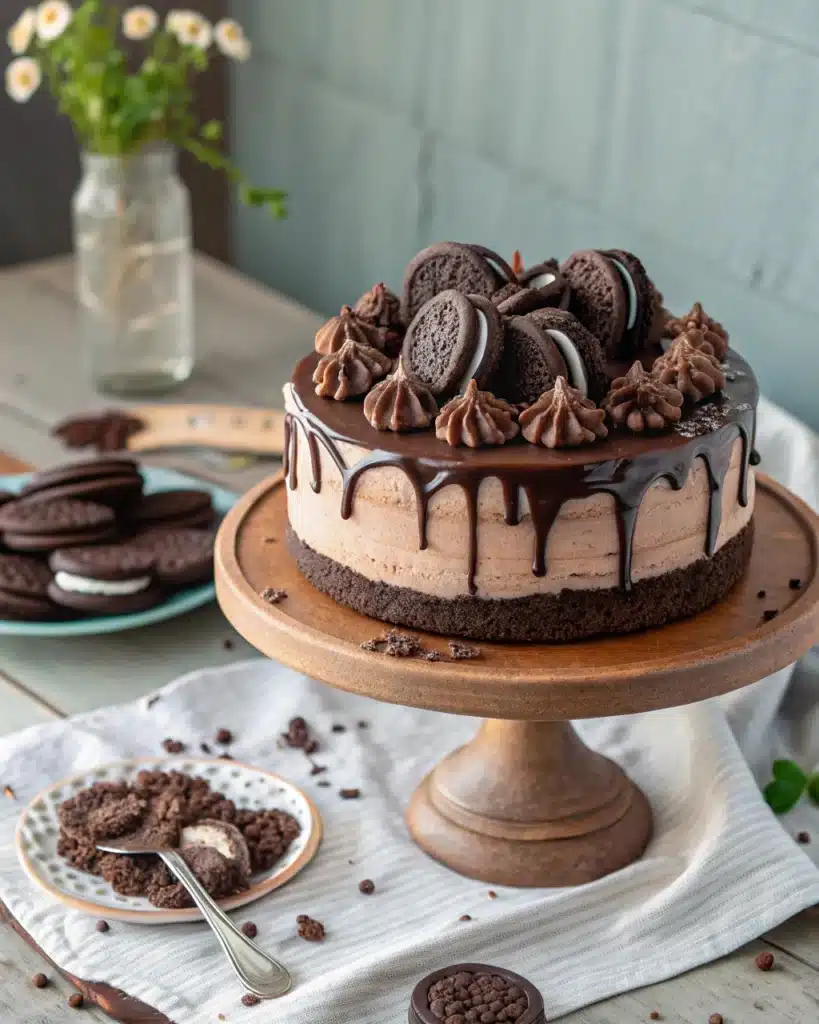
- Rosettes around the top edge
- Center swirls for added dimension
- Oreo halves inserted into each swirl
Now you’ve got a cake that will make people stop scrolling and start saving.
Real Baker Tips + Storage
Even great recipes fall apart without proper execution. Here’s how to stay ahead of the rookie mistakes.
Don’t Make These Common Errors
- Overmixing the batter: Leads to dense, chewy cake
- Underbaking: Toothpick should have moist crumbs, not wet batter
- Frosting warm layers: Always cool completely or your frosting will slide
Storage Instructions
| Method | How Long | Notes |
|---|---|---|
| Room Temp | 1–2 days | Store in covered cake container |
| Refrigerator | 5 days | Wrap in plastic, airtight container best |
| Freezer (Slices) | 2 months | Wrap in plastic + foil, then zip bag |
Pro Tip: Let refrigerated cake sit out for 30 minutes before serving for best texture and flavor.
Oreo Cake Recipe Variations (User Intent Triggers)
If you love the original, these twists will keep your content ranking across related search terms. Plus, they’re fast and simple to execute.
Mini Oreo Cupcakes
- Use the same batter in cupcake liners
- Bake at 350°F for 15–18 minutes
- Frost with a swirl and top with a mini Oreo
Eggless Oreo Cake
- Swap each egg with ¼ cup yogurt or unsweetened applesauce
- Slightly denser texture, but same incredible flavor
Oreo Mug Cake
- Combine 4 crushed Oreos + 3 tbsp milk + ½ tsp baking powder
- Microwave in a mug for 90 seconds for a fast treat
No-Bake Oreo Cake
- Layer Oreo whipped cream + crushed cookies in a springform pan
- Chill overnight for a firm, sliceable dessert
- No oven, no stress, all delicious
Birthday Cake Upgrade
- Double the recipe for taller tiers
- Add sprinkles or candles for a celebration twist
- Personalize with a name plaque made from white chocolate or fondant
Love creamy, layered cakes? Don’t miss our Tiramisu Cake Recipe, a light and elegant dessert with espresso and mascarpone that’s just as indulgent as Oreo cake.
FAQ Section
Can I make Oreo cake without eggs?
Yes. Substitute each egg with ¼ cup yogurt or unsweetened applesauce. This works beautifully and still delivers a moist crumb.
What type of Oreos work best in cake?
Stick with original Oreos for best flavor and fat content. Avoid thins or reduced-fat versions — they’ll dry out the cake.
Can I make this Oreo cake without an oven?
Yes, try a no-bake version by layering whipped cream and crushed Oreos in a pan. Chill it overnight until firm.
What’s the difference between cookies and cream cake and Oreo cake?
They’re very similar, but Oreo cake specifically uses real Oreo cookies, whereas cookies-and-cream cake might use generic chocolate sandwich cookies.
Can I use whipped cream instead of buttercream?
You can, but whipped cream will be less stable. For long-lasting decoration or transport, stick with buttercream.
Is this Oreo cake vegetarian?
Yes — there’s no gelatin in the recipe. Just be sure to check that your Oreos are from a certified vegetarian source (most in the U.S. are).
Conclusion: Make This Oreo Cake Once — And You’ll Never Buy One Again
There’s something magical about taking a pack of Oreos and turning it into a show-stopping cake. With this recipe, you’re not just baking — you’re creating a dessert that’s layered with flavor, texture, and serious crowd appeal. Whether you’re celebrating a birthday, impressing guests, or just feeding your Oreo obsession, this cake delivers on every front.
Now it’s your turn: grab your mixing bowl, preheat that oven, and bring cookies-and-cream heaven to life. Once you taste it, there’s no going back — this Oreo cake will become your signature dessert.
Oreo Cake Recipe
Ingredients
Equipment
Method
- Preheat the oven to 350°F (175°C). Grease and line two 8-inch or 9-inch cake pans with parchment paper.
- In a large bowl, whisk flour, cocoa powder, baking soda, baking powder, and salt.
- In another bowl, beat both sugars, oil, eggs, vanilla, buttermilk, and hot water until combined.
- Gradually add dry ingredients to the wet mixture, then fold in crushed Oreos gently.
- Divide the batter between pans and bake for 28–32 minutes, or until a toothpick comes out with moist crumbs.
- Let cakes cool in pans for 10 minutes, then transfer to wire racks to cool completely.
- To make frosting, whip butter until creamy, then add powdered sugar, vanilla, cream, and salt. Fold in crushed Oreos.
- Level cake layers, frost the middle, top, and sides, then apply a crumb coat. Chill for 30 minutes.
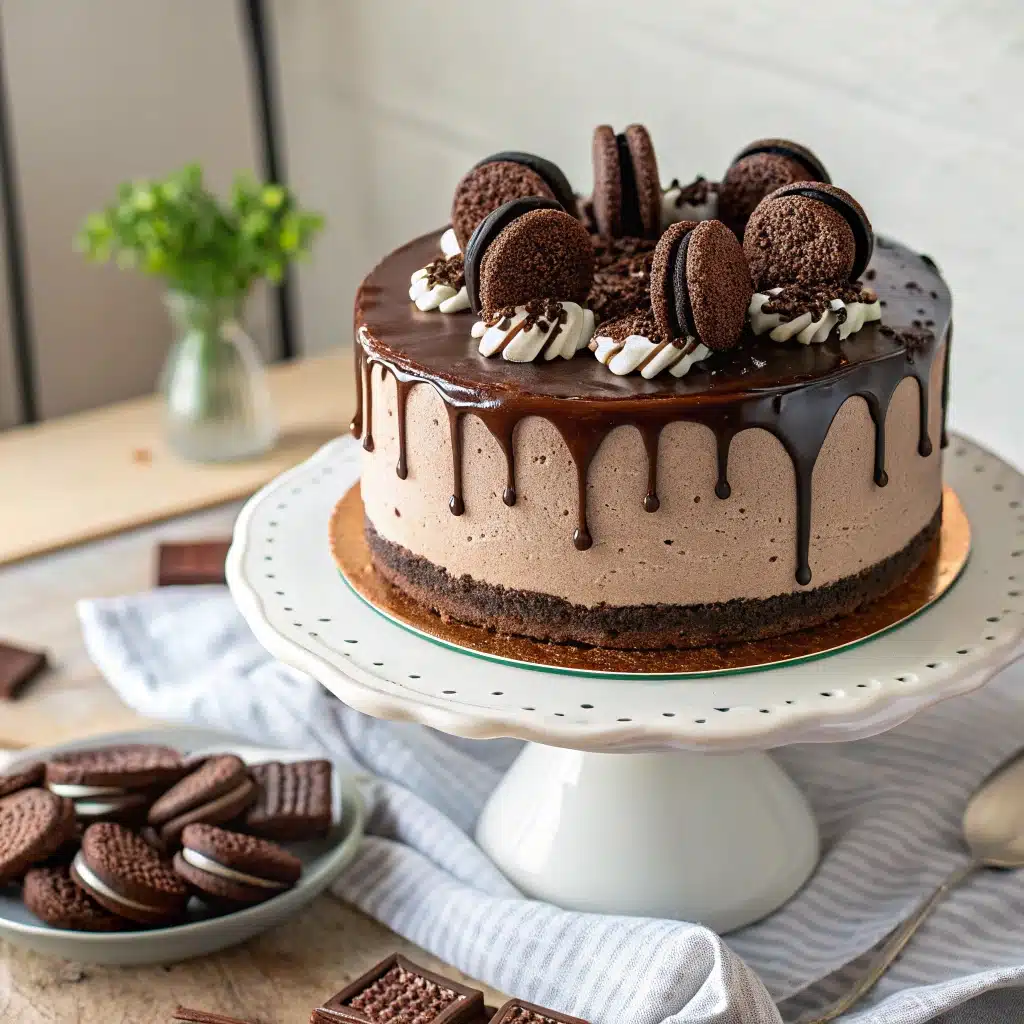
- Finish frosting and decorate with ganache drip, whole Oreos, and piped rosettes.
- Allow the cake to chill before slicing for clean cuts and best flavor.
Notes
- Use original Oreos, not thins or flavored versions, for best results.
- Ensure cakes are fully cooled before frosting to avoid melting.
- Ganache should be slightly cooled before pouring for perfect drips.
- Store leftovers covered in the fridge for up to 5 days.
- Cake can be frozen (unfrosted or frosted) for up to 2 months.


