
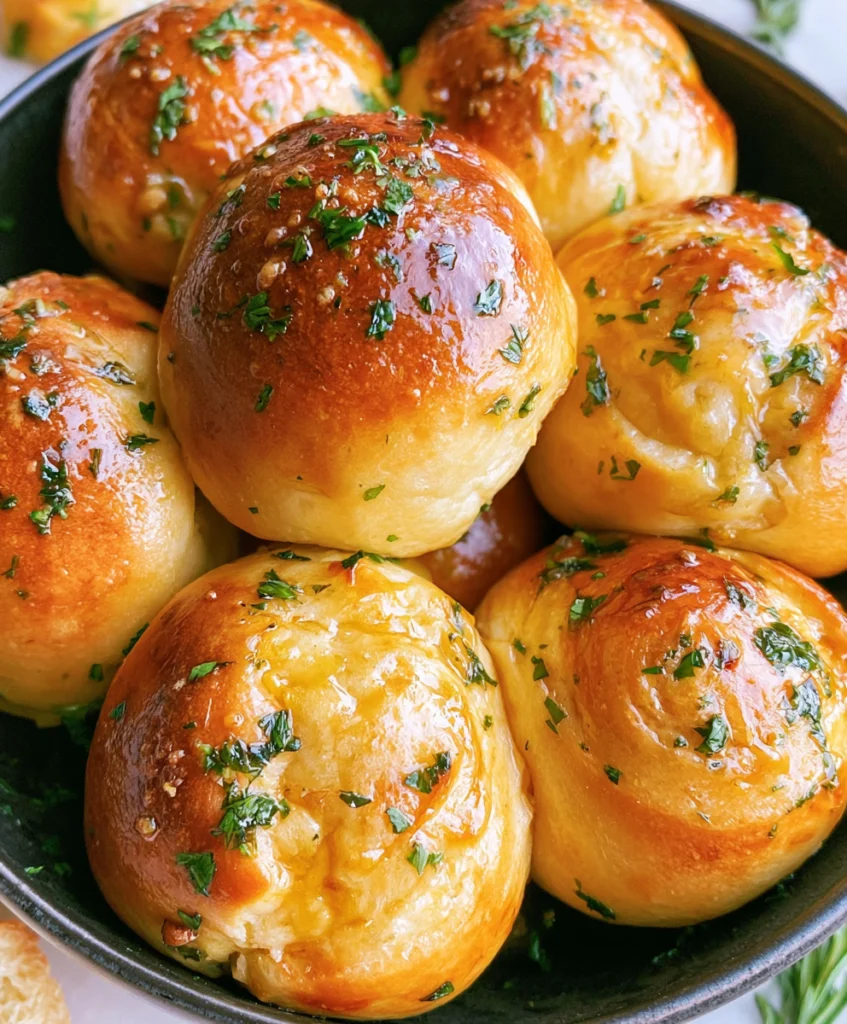
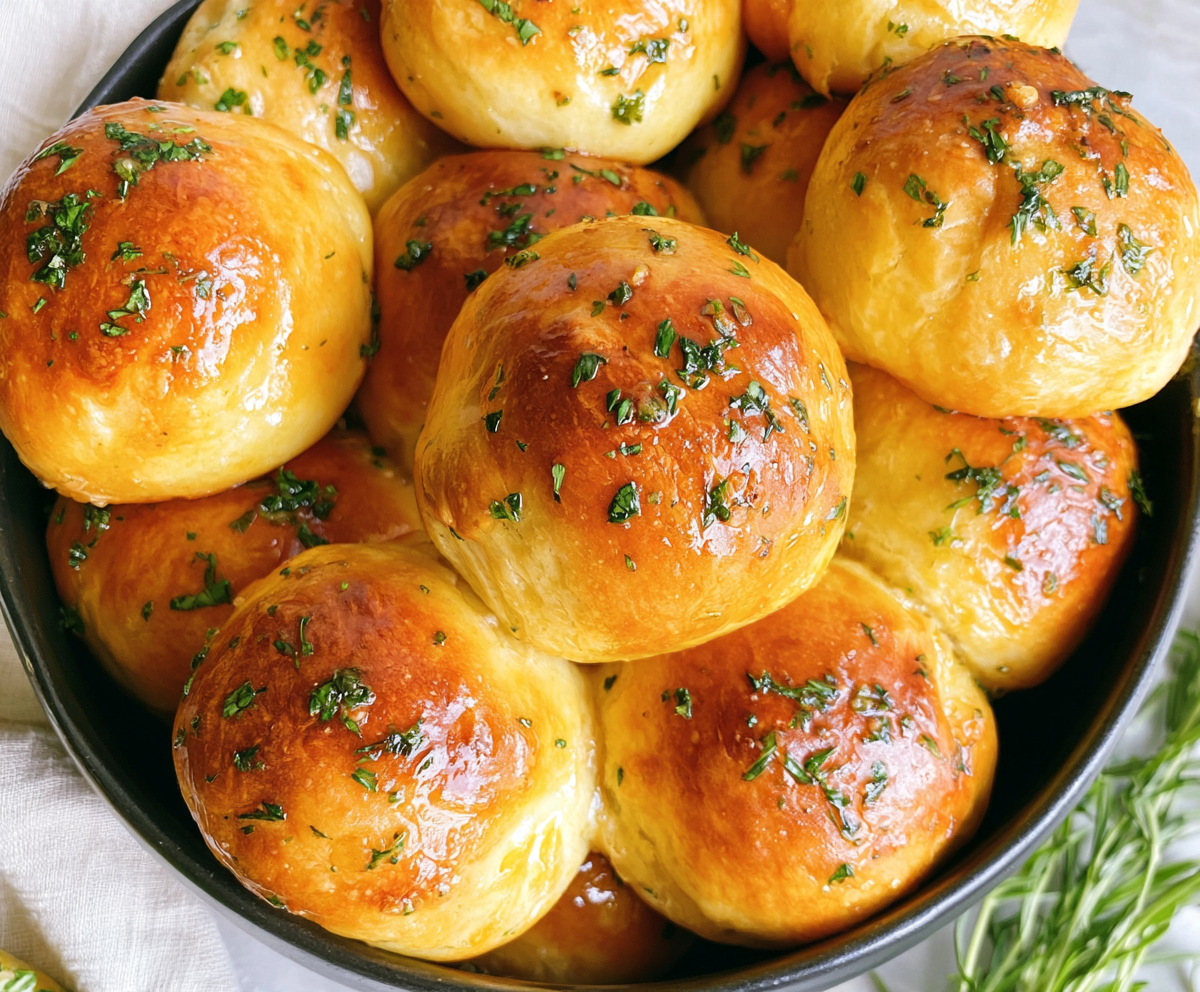
These garlic bread rolls are soft, fluffy, and packed with buttery garlic flavor from the inside out. The dough itself gets a boost from gently cooked garlic and melted butter, then the warm rolls are brushed with another layer of fresh garlic-parsley butter after baking. I love how the tops turn beautifully golden while the centers stay tender and pillowy.
This recipe keeps the rising process simple, with just one main rise after the rolls are shaped. Once the enriched dough has been kneaded until smooth and soft, divide and shape it into 12 rolls, place them in a 9×13-inch pan, and leave them to rise until doubled in size. Just before baking, brush the tops lightly with egg wash to give them a glossy finish.
The final garlic butter is what brings everything together. Brushing it over the rolls while they’re still hot lets that savory butter settle into the golden tops, with fresh parsley adding just enough brightness. Serve them warm alongside pasta, soup, roasted meats, or a cozy family dinner—they’re made for pulling apart and passing around the table.
Ingredients You’ll Need
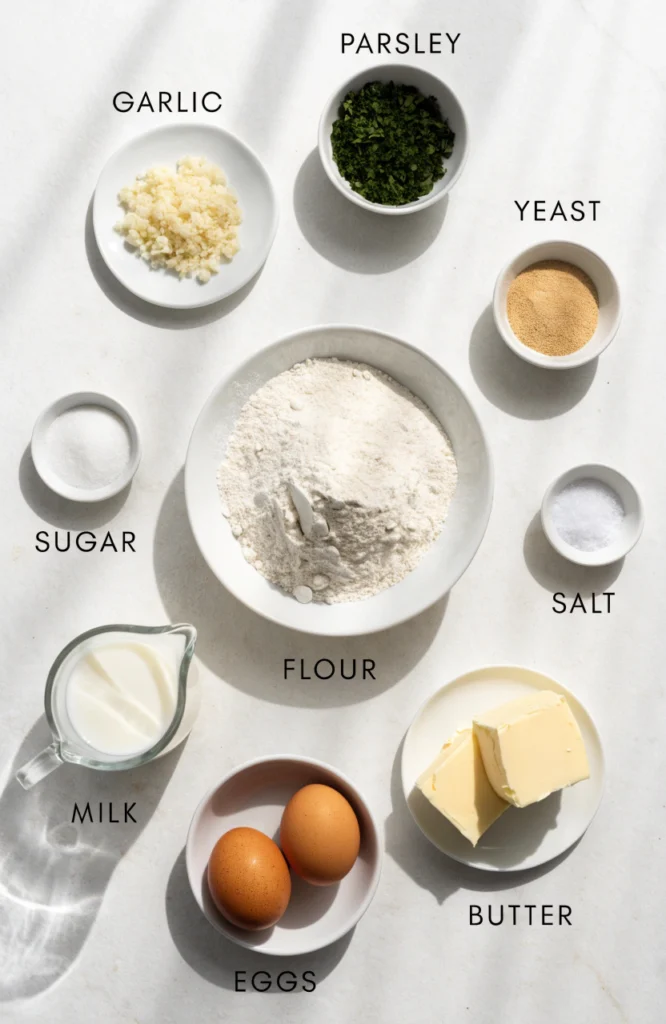
You’ll use simple baking staples for these garlic bread rolls, but a few ingredients are worth paying attention to because they directly affect the texture, rise, and garlic flavor.
- All-purpose flour: This gives the rolls enough structure while still producing a soft, tender crumb. Avoid using more flour than the dough needs, since an overly stiff dough can produce heavier rolls.
- Instant yeast: Instant yeast works particularly well here because it can go straight into the dry ingredients. Make sure yours is fresh, especially if the package has been open for a while.
- Whole or 2% milk: Milk adds moisture and richness to the dough. You’ll warm it to about 110°F—warm enough to support the yeast without making it excessively hot.
- Unsalted butter: You’ll use butter in two places. The first portion is gently heated with garlic and incorporated into the dough; the second becomes the garlic butter brushed over the baked rolls.
- Eggs: One room-temperature egg enriches the dough, while a separate beaten egg is used as an egg wash to help the rolls develop glossy, golden tops.
- Fresh garlic: Garlic goes into both the dough and the finishing butter. I like it finely minced so its flavor spreads evenly throughout the rolls.
- Fresh parsley: Chopped fresh parsley brings a bright, fresh flavor and a touch of color to both the dough and the garlic butter topping.
- Sugar and fine sea salt: A small amount of sugar balances the savory dough, while salt seasons it and helps regulate yeast activity.
- Flaky sea salt: This is optional, but a light sprinkle over the freshly buttered rolls gives the tops a pleasant salty finish.
How to Make Garlic Bread Rolls
The dough comes together in a stand mixer, then the rolls are shaped before their main rise. Pay more attention to how the dough looks and feels than to the clock—those cues will tell you when it’s ready.
Step 1 — Make the Garlic Butter for the Dough
Grease the bottom and sides of a 9×13-inch baking pan lightly with butter, then set the pan aside.
Melt the butter in a small saucepan over low heat, then stir in the minced garlic. Let it cook gently for 1–2 minutes, until the garlic becomes fragrant without browning, which can make it taste bitter. Remove the saucepan from the heat and allow the mixture to cool slightly while you get the dry ingredients ready.
Step 2 — Mix and Knead the Dough
Add the flour, chopped parsley, sugar, instant yeast, and fine sea salt to the bowl of a stand mixer. Stir briefly to distribute everything evenly.
Pour in the milk warmed to about 110°F, the room-temperature egg, and the slightly cooled garlic butter. Fit the mixer with the dough hook and knead on low speed for about 10–12 minutes.
The finished dough should look smooth and feel soft and slightly tacky rather than dry. If it’s genuinely too sticky to handle after kneading, add flour 1 tablespoon at a time. Avoid adding extra flour too quickly because a soft dough is part of what gives these rolls their tender texture.
Step 3 — Shape the Rolls
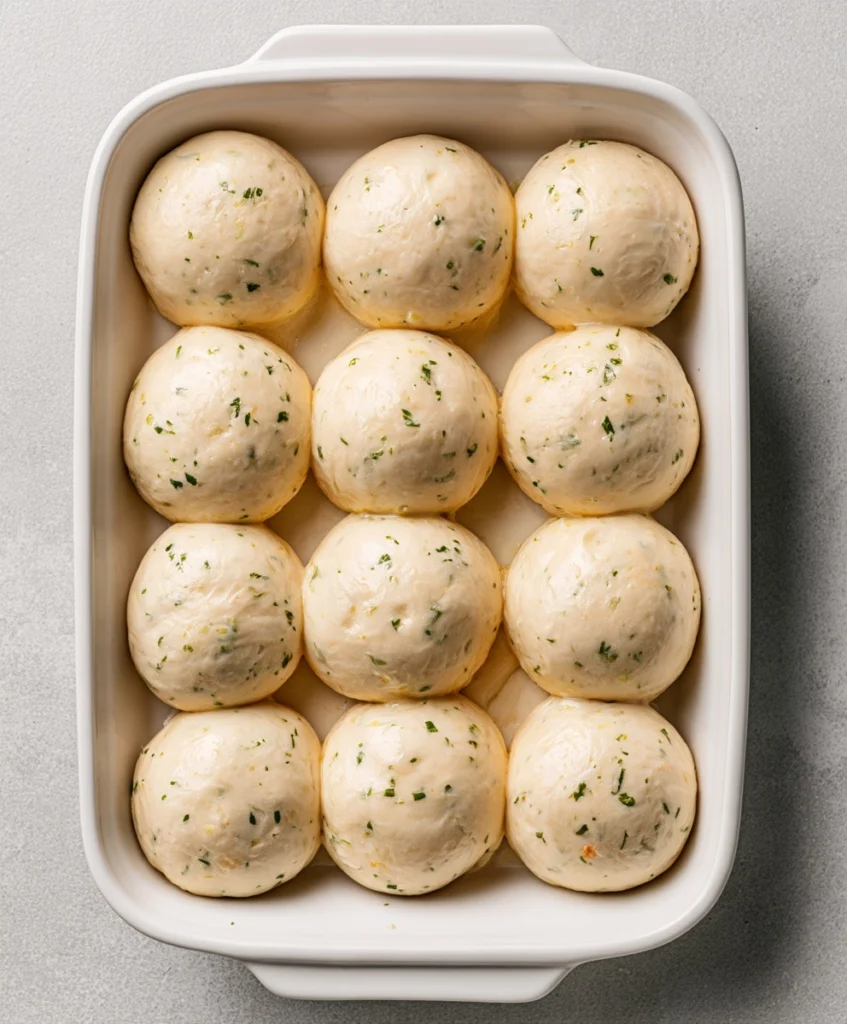
Turn the kneaded dough onto a lightly floured work surface and divide it into 12 equal portions. Keeping the pieces similar in size helps them rise and bake at the same rate.
Shape each portion into a smooth ball, tucking the edges underneath and pinching the seam closed. Arrange all 12 rolls evenly in the prepared 9×13-inch pan with the seams facing down.
Step 4 — Let the Shaped Rolls Rise
Cover the pan loosely with plastic wrap or a clean kitchen towel and place it somewhere warm and free from drafts. Let the rolls rise for approximately 1–2 hours, or until they have roughly doubled in size and look noticeably puffy.
The exact time will depend on the temperature of your kitchen, so use the appearance of the dough as your main guide.
Step 5 — Brush and Bake
Toward the end of the rise, preheat your oven to 350°F.
Gently brush the risen rolls with beaten egg, taking care not to press down and deflate them. Bake for 20–30 minutes, until the tops are deep golden brown and the center rolls no longer look pale or doughy where they meet.
If they’re coloring faster than the centers are baking, loosely cover the pan with foil for the final few minutes.
Step 6 — Finish With Garlic Butter
While the rolls are in the oven, melt the remaining butter over low heat. Stir in the minced garlic and cook gently for 1–2 minutes, until fragrant. Take it off the heat, then mix in the chopped fresh parsley.
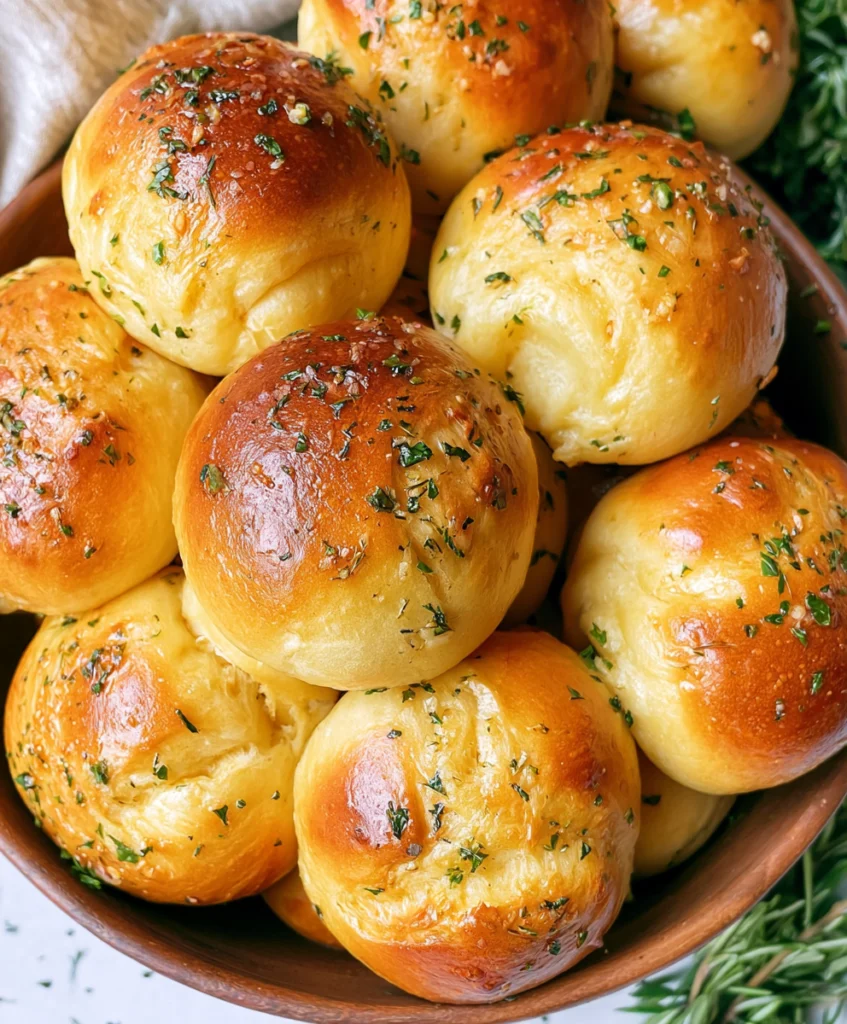
As soon as the rolls come out of the oven, brush the warm garlic-parsley butter generously over their tops. Finish with a little flaky sea salt if you like.
Tips for Soft and Fluffy Garlic Rolls
A soft dough and a good rise do most of the work here. These extra details can help you keep the rolls light and tender without changing the basic method.
- Measure the flour carefully. Spoon it into the measuring cup, then level off the top rather than scooping straight from the bag. Packing in too much flour can leave the rolls heavy and dry.
- Don’t rush the rise in a cool kitchen. A chilly room can push proofing beyond the expected time range, so give the dough additional time when needed.
- Shape with a little surface tension. When forming each dough ball, tuck the edges underneath and gently tighten the surface without tearing it. This helps the rolls rise upward and gives them smoother, rounder tops.
- Use the right size pan. A 9×13-inch pan gives 12 rolls enough room to expand while still allowing them to meet as they rise and bake. That close arrangement helps create soft pull-apart sides.
- Go easy on the finishing salt. The garlic butter already brings plenty of richness and flavor. If you’re adding flaky sea salt, a light sprinkle is enough to give the tops some contrast without overwhelming the rolls.
Easy Variations and Ingredient Substitutions
You can adjust the flavor of these rolls while keeping their soft, buttery character. Just remember that substitutions made directly to the dough can affect how it rises and the texture of the finished rolls.
Flavor Variations
- Cheesy garlic rolls: Sprinkle shredded mozzarella over the rolls during the last few minutes of baking so it melts without becoming overly browned. I prefer adding cheese near the end rather than mixing a large amount into this soft dough.
- Garlic Parmesan rolls: Add finely grated Parmesan to the warm rolls immediately after brushing them with garlic butter. Since Parmesan is salty, use less flaky sea salt or leave it off entirely.
- Herb garlic rolls: Replace the parsley with finely chopped rosemary or thyme, or use a combination of herbs. Stronger herbs such as rosemary are best used more sparingly than parsley.
Ingredient Substitutions
- Active dry yeast: You can use the same amount of active dry yeast in place of instant yeast. Stir it into the warm milk with the sugar and let it sit for about 5–10 minutes before mixing the dough. It may take slightly longer for the shaped rolls to rise.
- Garlic powder: Fresh garlic gives these rolls their characteristic flavor, so it’s the better choice here. Garlic powder can flavor the butter in a pinch, but because this version wasn’t developed around it, season the melted butter gradually to taste rather than treating it as a direct measured substitute.
- Dried parsley: Fresh parsley gives the rolls better color and freshness, but dried parsley can work when needed. Use it more sparingly than fresh parsley and add it according to taste.
- Milk alternatives: An unsweetened, unflavored non-dairy milk can replace the dairy milk, although the finished crumb may be slightly less rich depending on the variety you choose.
- Dairy-free butter: A firm plant-based butter intended for baking is the most practical replacement for regular butter. Because brands vary in water and salt content, you may notice a small difference in dough texture and flavor.
What to Serve With Garlic Bread Rolls
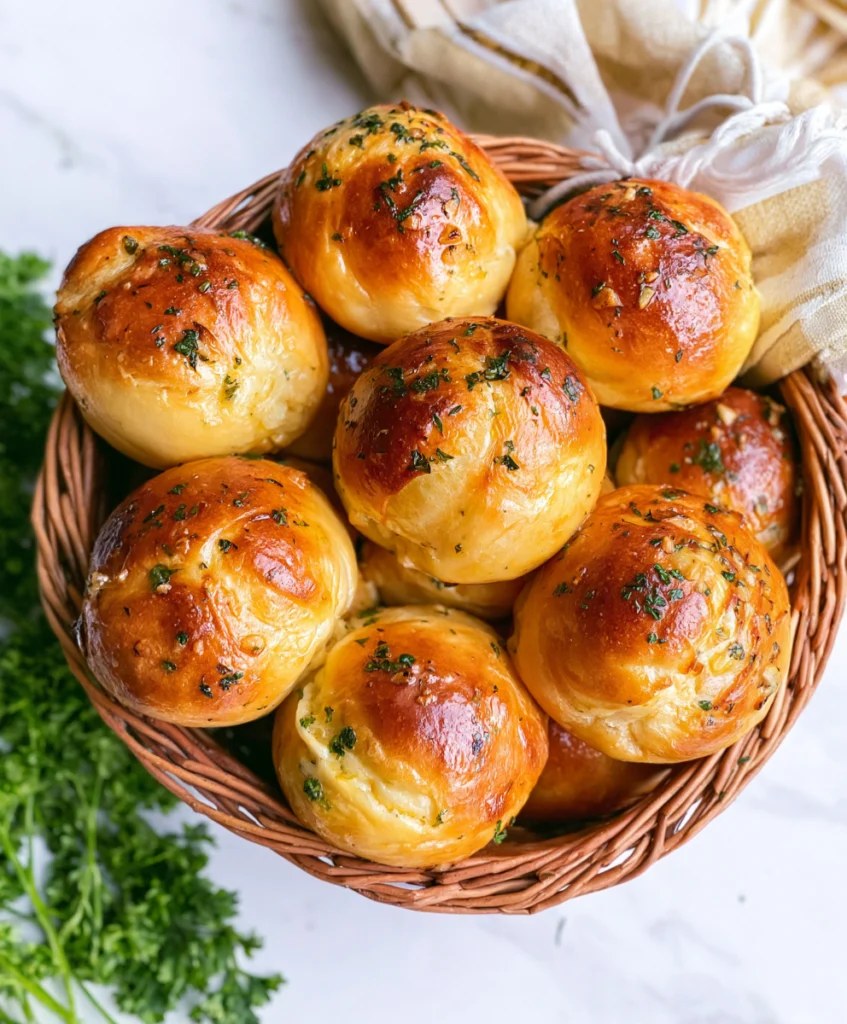
These rolls work especially well with meals that have plenty of sauce or broth to soak up. I usually serve them warm so the garlic butter is still aromatic and the centers stay especially soft.
- Saucy pasta: Pair them with garlic Parmesan chicken pasta, spaghetti and marinara, baked ziti, or vegetarian lasagna. They’re particularly good for catching the sauce left on the plate.
- Soups and stews: Serve the rolls alongside creamy chicken and wild rice soup, tomato soup, minestrone, or a hearty beef stew.
- Roasted or braised mains: Roasted chicken, meatballs, pot roast, and other savory mains all work well with the buttery garlic flavor.
- Holiday dinners: They’re also a great alternative to plain dinner rolls alongside roast turkey or chicken, mashed potatoes, gravy, and roasted vegetables.
Make-Ahead, Storage, Freezing, and Reheating
These garlic bread rolls taste best fresh and warm, though they also keep and reheat nicely. When I’m making them for a busy dinner, I prefer shaping the rolls and refrigerating them overnight so there’s less to do right before serving.
Can You Make the Dough Ahead of Time?
For an overnight option, prepare and shape the 12 rolls, arrange them in the 9×13-inch pan, then cover the pan tightly and refrigerate before they complete their rise.
The next day, remove the pan from the refrigerator and keep it covered while the rolls come toward room temperature and finish rising. Depending on your kitchen, this can take 1–2 hours or longer. Don’t bake according to the clock alone; wait until the rolls look noticeably expanded and puffy.
Once they’re ready, brush with the egg wash and bake as directed.
How to Store Leftover Garlic Bread Rolls
Let leftover rolls cool completely before placing them in an airtight container or resealable bag. Keep them at room temperature for up to 2 days.
Avoid refrigerating baked rolls unless necessary because refrigeration tends to make bread stale and firm more quickly.
How to Freeze Garlic Bread Rolls
For the most predictable results, freeze the rolls after baking. Once completely cool, wrap them well and place them in a freezer-safe bag or airtight container. Freeze for up to 2 months.
Thaw them at room temperature before reheating.
How to Reheat Garlic Bread Rolls
For several rolls, place them in a baking dish, cover loosely with foil, and warm in a 300°F oven for about 10–15 minutes, or just until heated through. The foil helps prevent the tops from becoming too dark or dry.
For a single roll, microwave it in short 10–15 second intervals until warm. Avoid overheating it, which can make the bread chewy.
If the rolls are a bit dry after storing, I like to warm them and brush the tops with a little melted butter or any leftover garlic butter before serving.
Frequently Asked Questions
Can I Make Garlic Bread Rolls Without a Stand Mixer?
Yes. A stand mixer makes kneading easier, but you can make the dough completely by hand.
Mix the ingredients with a sturdy wooden spoon until a shaggy dough forms, then transfer it to a lightly floured surface and knead by hand until smooth and elastic. Because this is a soft, enriched dough, it may feel sticky at first. Resist adding lots of extra flour just to make kneading easier.
Why Didn’t My Garlic Bread Rolls Rise?
A few things can prevent yeast dough from rising properly:
- Old or inactive yeast: Check the expiration date, particularly if the package has been open for some time.
- Milk that was too hot: Aim for about 110°F. Excessive heat can damage the yeast.
- A cold kitchen: Cooler temperatures slow fermentation considerably, so your rolls may simply need more time.
- Not enough proofing time: The 1–2 hour range is a guide. Let the appearance of the rolls determine when they’re ready.
If there’s no noticeable activity after an extended period in a comfortably warm environment, inactive yeast is a likely culprit and starting over may be the most reliable option.
Why Did My Garlic Bread Rolls Turn Out Dense?
Dense rolls are commonly caused by too much flour, insufficient kneading, or inadequate proofing.
If your baked rolls were tight and heavy rather than airy, think back to whether the dough was stiff from excess flour or whether the shaped rolls went into the oven before they had expanded sufficiently.
Can I Use Bread Flour Instead of All-Purpose Flour?
Yes, but expect a slight difference in texture. Since bread flour has a higher protein content, the rolls will usually have a bit more structure and chew, while all-purpose flour gives them a softer, more tender crumb.
You can substitute it in the same recipe, but pay attention to the dough rather than automatically adding extra flour. Bread flour can absorb liquid differently, and you still want the finished dough to remain soft and slightly tacky.

Garlic Bread Rolls
Ingredients
Equipment
Method
- Prepare the pan: Lightly butter the bottom and sides of a 9×13-inch baking pan.
- Prepare the garlic butter: Melt 4½ tablespoons butter over low heat. Add 2 tablespoons minced garlic and cook for 1–2 minutes, until fragrant but not browned. Remove from the heat and let cool slightly.
- Mix the dough: Add the flour, 3 tablespoons parsley, sugar, instant yeast, and fine sea salt to the bowl of a stand mixer. Pour in the warm milk, room-temperature egg, and cooled garlic butter.
- Knead: Using the dough hook, knead on low speed for 10–12 minutes, until the dough is smooth, elastic, soft, and slightly tacky. If it’s excessively sticky after kneading, add flour 1 tablespoon at a time.
- Shape: Transfer the dough to a lightly floured surface and divide into 12 equal portions. Shape each portion into a smooth ball and pinch the seam underneath. Arrange seam-side down in the prepared pan.
- Rise: Cover the pan and let the rolls rise in a warm, draft-free place for 1–2 hours, until roughly doubled in size and visibly puffy.
- Preheat and brush: Near the end of the rise, preheat the oven to 350°F. Gently brush the risen rolls with the beaten egg.
- Bake: Bake for 20–30 minutes, until the tops are deep golden brown and the center rolls no longer look pale or doughy where they meet. Loosely cover with foil near the end if the tops brown too quickly.
- Make the garlic butter topping: While the rolls bake, melt 2 tablespoons butter over low heat. Add 1 tablespoon minced garlic and cook for 1–2 minutes, until fragrant but not browned. Remove from the heat and stir in 1 tablespoon chopped parsley.
- Finish: Brush the hot rolls generously with the garlic-parsley butter as soon as they come out of the oven. Sprinkle lightly with flaky sea salt, if desired, and serve warm.
Notes
- Spoon flour into your measuring cups and level it rather than packing it down.
- Keep the dough soft and slightly tacky. Adding too much flour can make the rolls dense.
- Cook the garlic gently so it becomes fragrant without browning.
- Treat the rising time as a range. The rolls should be noticeably puffy and roughly doubled before baking.
- Store cooled rolls in an airtight container at room temperature for up to 2 days.
- Freeze fully baked and cooled rolls for up to 2 months.