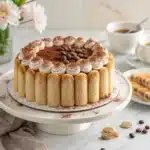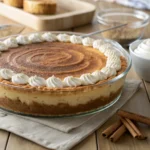

Marshmallow Whip Cheesecake Heaven is all about that soft, creamy filling you can sink a fork into. This no-bake cheesecake has a buttery graham cracker crust and plenty of sweet marshmallow flavor, while whipped cream keeps the filling light instead of giving you the dense texture of a baked cheesecake.
The marshmallow fluff is what makes this one a little different. It blends right into the cream cheese, so you get that vanilla-marshmallow flavor in every bite rather than only from the topping. I like folding freshly whipped cream into the filling because it keeps the cheesecake light and fluffy while still giving it enough body to hold a slice.
Most of the work here is simply giving the cheesecake enough time in the refrigerator. I usually prefer making desserts like this ahead so there’s no temptation to cut into them before they’re properly set. Once chilled, the filling should be creamy and airy but firm enough to hold its shape when sliced.
Why You’ll Love This Cheesecake
- Soft and fluffy: Whipped cream gives the filling a lighter texture than a traditional baked cheesecake.
- Plenty of marshmallow flavor: Marshmallow fluff is mixed through the filling, so you get that sweet vanilla-marshmallow taste in every slice.
- Straightforward to make: The filling comes together with an electric mixer and a spatula, then the refrigerator does the rest.
- Great for making ahead: The cheesecake needs time to set anyway, so you can easily prepare it before you need it.
- Easy to dress up: I like it with a simple scattering of mini marshmallows or graham cracker crumbs, but you can keep the top completely simple too.
If you enjoy creamy cheesecake desserts with a little more texture, my churro cheesecake is another fun option to try.
Ingredients You’ll Need
You only need a handful of ingredients for this cheesecake, but using the right kind of cream cheese and keeping the whipping cream cold make a noticeable difference in the finished texture. Exact amounts are in the recipe card.
Graham Cracker Crust
- Graham cracker crumbs: Finely crushed crumbs pack together more evenly and give you a crust that’s easier to slice.
- Butter: Binds the crumbs and gives the crust its rich, buttery flavor.
- Sugar: Adds a little sweetness to the graham cracker base.
Marshmallow Cheesecake Filling
- Cream cheese: Use full-fat block cream cheese and let it soften before mixing. It gives the filling a smooth texture and enough body to hold its shape.
- Marshmallow fluff: This provides the main marshmallow flavor along with sweetness and a soft, creamy consistency.
- Heavy whipping cream: Keep it cold until you’re ready to whip it. Once whipped to stiff peaks, it gives the cheesecake filling its light, airy texture.
- Sugar: Sweetens the cream cheese base and balances its tanginess.
- Vanilla extract: Adds a little extra vanilla flavor that works naturally with the marshmallow.
Topping and Garnishes
I prefer keeping the topping fairly simple because the filling is already sweet and marshmallow-forward. Mini marshmallows or a scattering of graham cracker crumbs give the top a little extra texture without covering up the cheesecake underneath.
How to Make Marshmallow Whip Cheesecake Heaven
Prepare the Graham Cracker Crust
- Stir the graham cracker crumbs and sugar together, then mix in the melted butter. The crumbs should look evenly moistened and hold together when you squeeze a little between your fingers.
- Press the mixture firmly into an even layer across the bottom of a 9-inch springform pan. I usually use the bottom of a measuring cup to press it down evenly and compact the crust.
- Refrigerate the crust while you make the filling. As it chills, the butter firms up and helps the crust stay together.
Make the Marshmallow Cheesecake Filling
- Beat the softened cream cheese and sugar until smooth, stopping to scrape down the sides and bottom of the bowl as needed.
- Add the marshmallow fluff and vanilla, then mix just until everything is evenly combined.
- In a separate bowl, beat the cold heavy cream until stiff peaks form. You’ll know it’s ready when the peaks hold their shape and stay upright after you lift the beaters.
- Gently fold the whipped cream into the marshmallow mixture with a spatula. I use slow, sweeping motions to keep as much air in the filling as possible, stopping as soon as the mixture is evenly combined with no visible streaks.
Assemble and Chill
- Spoon the filling onto the chilled crust and spread it evenly to the edges.
- Gently smooth the top, being careful not to press down and flatten the filling.
- Cover the pan and refrigerate for at least 4 hours. If you have the time, I prefer leaving it overnight for a firmer set.
- Before adding the topping, check that the center is well chilled and set, with no wet or loose areas. It should still have a softer, creamier texture than a baked cheesecake.
Add the Topping
- Once the cheesecake is fully set, finish the top with mini marshmallows, graham cracker crumbs, or both.
- Keep the finished cheesecake refrigerated until you’re ready to slice and serve.
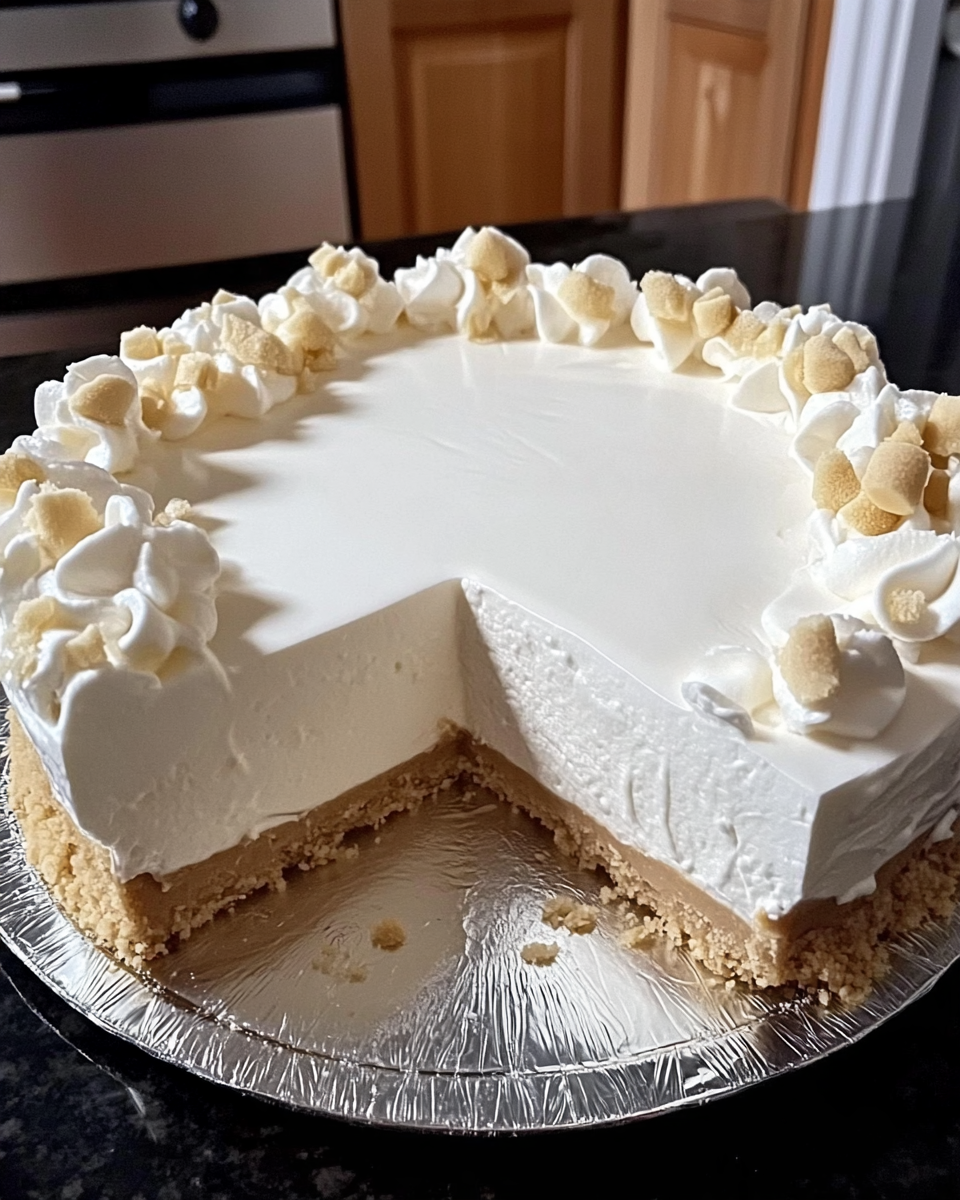
Tips for the Best Texture
- Watch the temperature of the filling. If your kitchen is warm and the mixture starts becoming unusually soft while you work, place it in the refrigerator briefly before assembling the cheesecake.
- Keep the cheesecake chilled until serving. The filling is meant to stay soft and creamy, so it will loosen as it warms. I leave mine in the refrigerator until I’m nearly ready to cut it.
Variations
Different Crumb Crusts
- Chocolate cookies: Use finely crushed chocolate cookies for a deeper flavor that works well with the sweet marshmallow filling.
- Vanilla wafers: These make a mild, slightly sweeter base that lets the marshmallow flavor stand out.
- Digestive biscuits: A good option when you want a less-sweet crust with a little more toasted flavor.
- If you use an already-sweetened cookie, you may not need the added sugar used in the graham cracker crust.
Chocolate Marshmallow Cheesecake
Keep the marshmallow filling as it is and bring in chocolate through the crust or topping. I’d use a chocolate cookie crust if I wanted a more noticeable chocolate flavor, while chocolate curls or a small drizzle of cooled chocolate sauce make a lighter finishing touch. For an even richer chocolate-and-cream-cheese dessert, try my cheesecake and brownie cake.
Fresh Berry Topping
Strawberries, raspberries, and blueberries all work well against the sweet marshmallow flavor. I especially like raspberries here because their tartness cuts through the sweetness. Whichever berries you use, wash and dry them thoroughly so extra moisture doesn’t collect on top of the cheesecake.
Toasted Marshmallow Finish
Scatter mini marshmallows over the cheesecake shortly before serving, then lightly toast them with a kitchen torch. Keep the flame moving and work quickly so you brown the marshmallows without warming the chilled filling underneath.
How to Slice and Serve
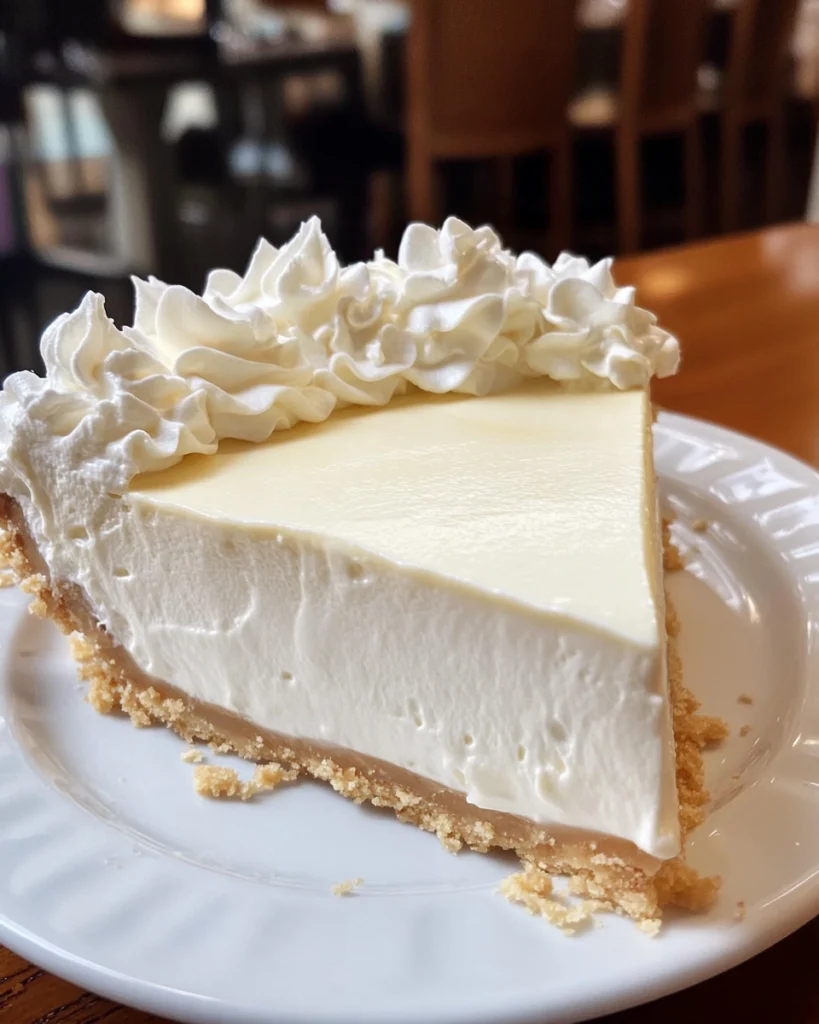
A well-chilled cheesecake is much easier to cut cleanly, so leave it in the refrigerator until you’re ready to serve. Carefully release the springform ring, running a thin knife around the edge first if any spots are sticking.
For neat slices, I like to dip a long, sharp knife in hot water and wipe it completely dry before cutting. Wipe the blade clean between slices as well. It only takes a few extra seconds, and it keeps filling and crumbs from dragging through the next piece.
Serve the cheesecake chilled. That’s when the filling has the best balance of fluffy, creamy texture and enough firmness to hold its shape on the plate.
Storage and Make-Ahead
Refrigerating
Keep the cheesecake covered in the refrigerator so the filling stays fresh and doesn’t absorb odors from other foods. Leftover slices are easiest to store in an airtight container. For the best texture and flavor, enjoy the cheesecake within 3–4 days.
Freezing
You can freeze the cheesecake whole or as individual slices. Once it’s firm, wrap it tightly and store it in an airtight freezer-safe container for up to 1 month.
Thaw it overnight in the refrigerator before serving. The filling may soften slightly after freezing, but it should keep its smooth, creamy texture.
Making It Ahead
This is a dessert I like to prepare a day ahead. Make the crust and filling, cover the cheesecake, and refrigerate it overnight so it has plenty of time to set.
Wait until closer to serving to add mini marshmallows, graham cracker crumbs, fresh berries, or other garnishes. They’ll look fresher and keep their texture better.
Frequently Asked Questions
Why Didn’t My Marshmallow Cheesecake Set?
If the cheesecake is still very soft after four hours, it may simply need more time in the refrigerator. Give it several more hours or leave it overnight before deciding there’s a problem.
If the filling was runny when it went into the pan, chilling may not completely fix it. Common causes include using soft spreadable cream cheese instead of full-fat block cream cheese or not whipping the heavy cream to stiff peaks.
Can I Use Regular Marshmallows Instead of Marshmallow Fluff?
Regular marshmallows aren’t a direct substitute for marshmallow fluff. They need to be melted, which changes both the preparation and the texture of the filling. For this recipe, I recommend sticking with marshmallow fluff.
Can I Make This Without a Springform Pan?
Yes. You can use a deep 9-inch pie dish and serve the cheesecake directly from it. A deep cake pan can also work, although removing the whole cheesecake neatly will be more difficult.
If you want tall, exposed sides and a clean presentation, I’d use a 9-inch springform pan.
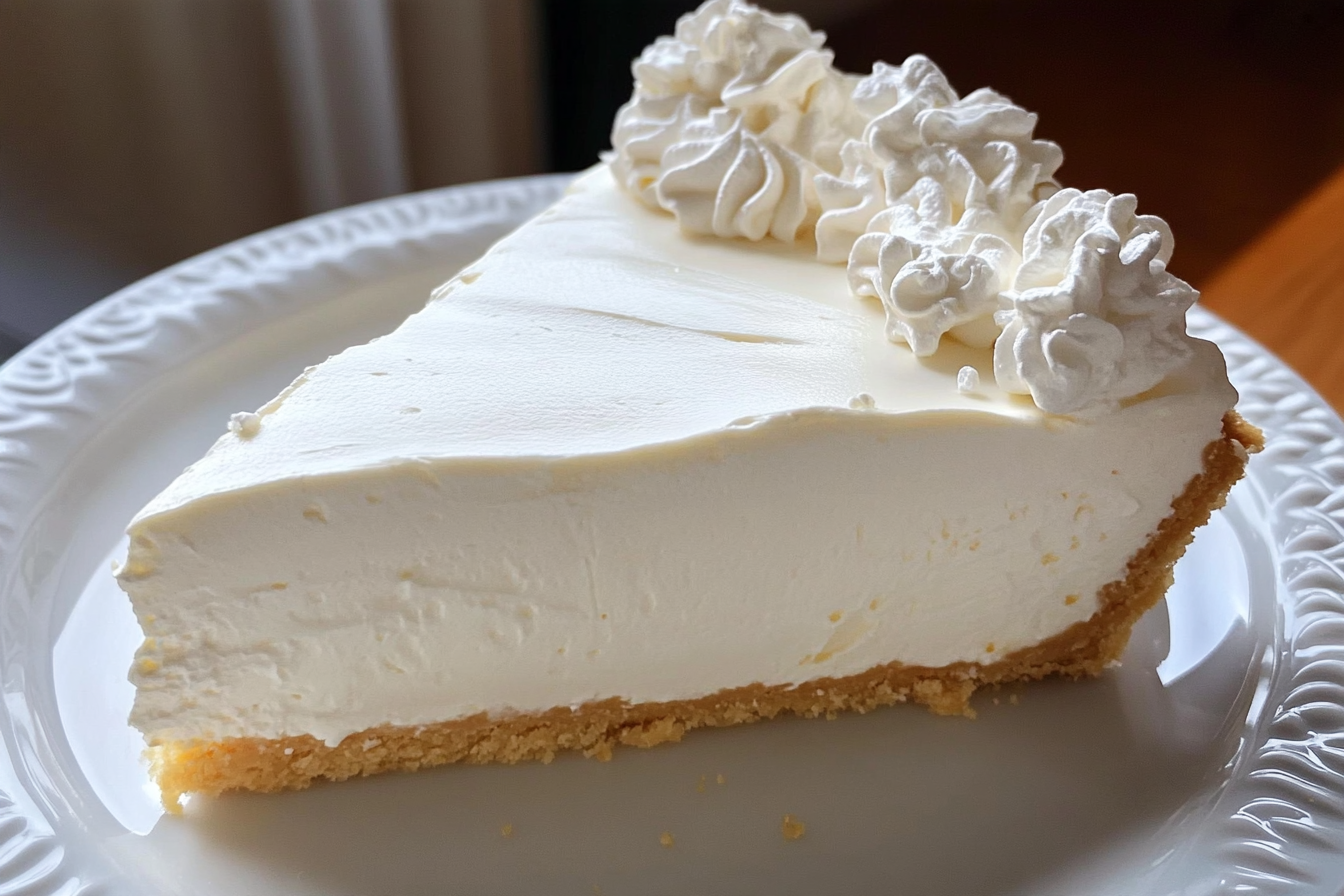

Marshmallow Whip Cheesecake Heaven
Ingredients
Equipment
Method
- Prepare the crust: Stir the graham cracker crumbs and sugar together. Add the melted butter and mix until the crumbs are evenly moistened. Press firmly into the bottom of a 9-inch springform pan. Refrigerate while you prepare the filling.
- Make the cream cheese mixture: Beat the softened cream cheese and sugar until smooth and creamy. Add the vanilla and marshmallow fluff and mix just until combined.
- Whip the cream: In a separate bowl, beat the cold heavy whipping cream until stiff peaks form.
- Finish the filling: Gently fold the whipped cream into the marshmallow mixture until evenly combined, taking care not to knock out the air.
- Assemble: Spread the filling evenly over the chilled crust and smooth the top.
- Chill: Cover and refrigerate for at least 4 hours. The center should feel cold and set rather than wet or loose, though the filling will remain softer than a baked cheesecake. For a firmer cheesecake, chill overnight.
- Decorate: Once set, top with mini marshmallows, graham cracker crumbs, or both. Keep refrigerated until ready to slice and serve.
Notes
- Use full-fat block cream cheese rather than spreadable cream cheese for the most dependable texture.
- Measure the heavy whipping cream while it is still liquid, then whip it to stiff peaks.
- Keep the cheesecake refrigerated until close to serving.
- Store leftovers covered in the refrigerator for up to 3–4 days.