
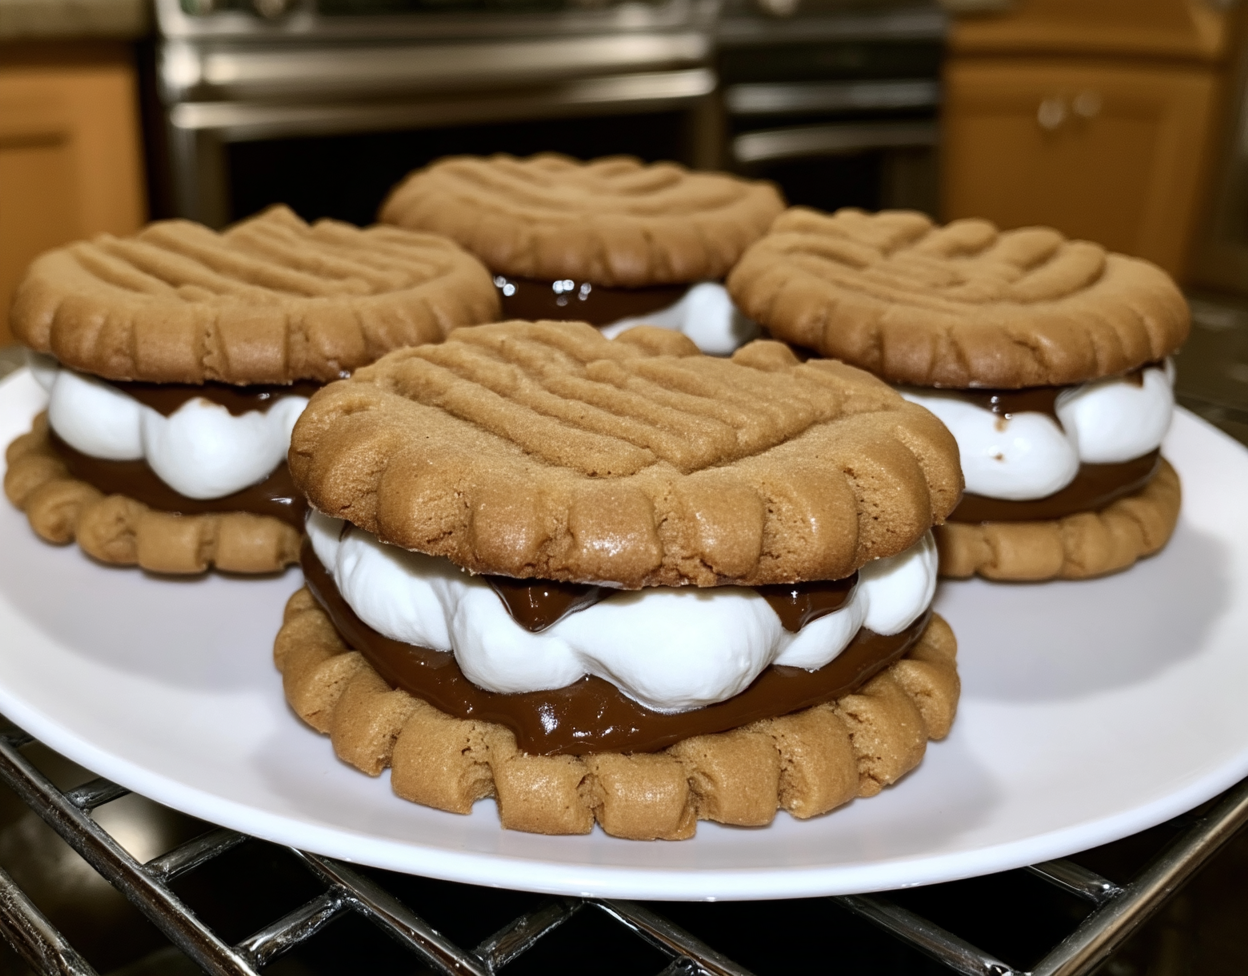
These Peanut Butter S’mores Sandwich Cookies pair soft peanut butter cookies with marshmallow fluff, creamy peanut butter, and melted milk chocolate. Each sandwich has lightly golden edges, a soft center, and a gooey filling that brings together peanut butter, chocolate, and marshmallow in every bite.
I especially like the contrast between the soft cookies and sticky marshmallow center. The melted milk chocolate adds richness, while a drizzle of warm peanut butter ties the filling back to the flavor of the cookies.
This recipe makes 20 sandwich cookies, so there’s plenty to share at a party, bake sale, or family gathering. The key is not to overbake the cookies and to let them cool completely before filling so the sandwiches stay soft and hold together well.
What You’ll Need for These S’mores Cookies
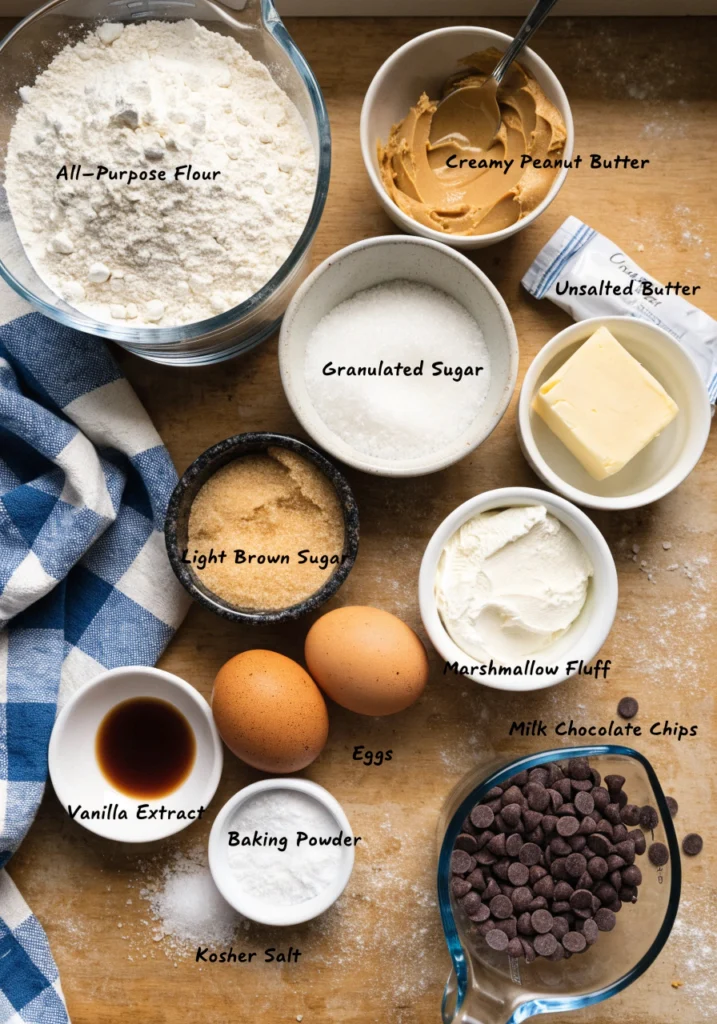
These sandwich cookies use simple baking ingredients. For the best results, have everything measured and ready before you start.
For the Peanut Butter Cookies
- Creamy peanut butter: A smooth, conventional creamy peanut butter gives you the most predictable dough and helps the cookies hold their shape. Natural peanut butter that separates easily can make the texture less consistent.
- Unsalted butter: Use softened butter so it blends smoothly with the peanut butter and sugars. It should give slightly when pressed, not look melted or greasy.
- Granulated and light brown sugar: Using both gives you sweetness without sacrificing texture. Brown sugar brings extra moisture and a subtle caramel note, while granulated sugar helps the cookies develop their lightly crisp edges.
- Egg: A room-temperature egg incorporates more easily into the creamed mixture.
- Vanilla extract: It rounds out the peanut butter and chocolate flavors without competing with them.
- All-purpose flour: Measure the flour gently without packing it into the cup. Adding too much can easily make your peanut butter cookies dry and crumbly.
- Baking powder and kosher salt: Baking powder provides a little lift, while salt keeps the finished cookies from tasting overly sweet.
For the S’mores Filling
- Marshmallow fluff: This gives you that soft, sticky marshmallow center without needing to toast individual marshmallows. It’s also easy to spread once the cookies have cooled.
- Creamy peanut butter: Warming it briefly makes it thin enough to drizzle over the marshmallow layer. Use the same creamy peanut butter here as you do in the cookie dough.
- Milk chocolate chips: Milk chocolate gives the filling the sweet, creamy chocolate flavor associated with classic s’mores. Melt it until completely smooth, then let it cool just enough that it won’t immediately run out of the sandwiches.
How to Make Peanut Butter S’mores Sandwich Cookies
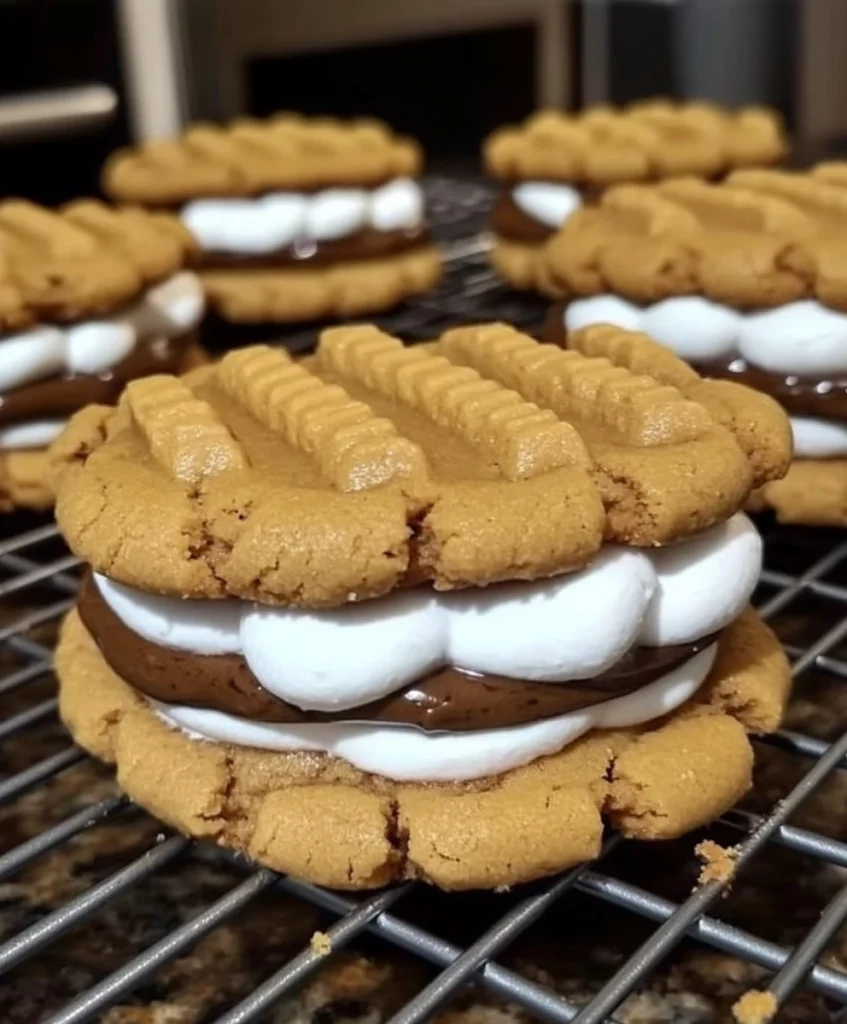
Make the Peanut Butter Cookie Dough
- Cream the fats and sugars. Beat the creamy peanut butter, softened unsalted butter, granulated sugar, and light brown sugar until smooth and fluffy, about 2 minutes. Look for the mixture to become slightly lighter and lose any visible streaks of butter.
- Add the egg and vanilla. Mix in the egg and vanilla extract just until everything looks smooth and evenly combined.
- Combine the dry ingredients. Whisk the all-purpose flour, baking powder, and kosher salt together in a separate bowl. Gradually add this mixture to the peanut butter mixture, mixing only until a soft dough forms. Stop once you no longer see dry flour; overmixing can make the cookies firmer than you want.
Shape and Bake the Cookies
- Prepare the oven and pan. Heat your oven to 350°F and line a baking sheet with parchment paper.
- Portion the dough. Scoop the dough into even portions and arrange them about 2 inches apart. For 20 finished sandwich cookies, you’ll need 40 individual cookies.
- Make the fork marks. Gently press each portion with a fork in one direction, then again in the opposite direction to create the familiar crisscross pattern. This also flattens the dough so the cookies bake into a better shape for sandwiching.
- Bake for 10–12 minutes. Look for lightly golden edges while the centers and tops still appear soft. Don’t wait for the entire cookie to become deeply browned; that can leave the sandwiches dry once cooled.
- Cool completely. Leave the cookies on the baking sheet for about 5 minutes so they can firm up, then transfer them carefully to a wire rack. Let them cool completely before adding any filling.
Add the Marshmallow Filling
Arrange 20 cooled cookies bottom-side up. Spoon marshmallow fluff into the center of each one and spread it gently, leaving a little space around the edge. The fluff will shift when you add the top cookie, so keeping it away from the rim helps prevent a sticky overflow.
Melt the Chocolate
Melt the milk chocolate chips gently until smooth, stirring frequently so the chocolate doesn’t scorch. At the same time, warm the creamy peanut butter just until it becomes easy to drizzle.
Let the melted chocolate sit briefly before assembling. You want it fluid enough to spread but not so hot and thin that it immediately runs down the sides.
Assemble the Sandwich Cookies
- Drizzle a little warmed peanut butter over each marshmallow layer.
- Spoon or spread melted milk chocolate over the peanut butter.
- Place a second cooled cookie on top, pressing very gently until the filling reaches toward the edges.
- Let the finished sandwiches stand for 10–15 minutes so the chocolate begins to set. If you prefer a firmer center, refrigerate them briefly before serving.
Make-Ahead Options
These cookies are easy to split into stages, which is handy when you’re making all 20 sandwiches for a party or gathering. For the best texture, I prefer to bake the cookies ahead and save the gooey filling for closer to serving.
- Prepare the dough ahead: Mix the peanut butter cookie dough, cover it tightly, and refrigerate it for up to 2 days. Let it sit at room temperature briefly if it becomes too firm to scoop and press without cracking.
- Portion before chilling: If you know you’ll be short on time later, you can portion the dough before refrigerating it. Keep the portions covered so the surfaces don’t dry out.
- Bake the cookies in advance: You can bake and cool the peanut butter cookies before assembly, then store them as directed below. Fill them closer to serving for the best texture.
- Save the filling for later: Marshmallow fluff needs no advance preparation, and the peanut butter and chocolate are easiest to work with freshly warmed or melted.
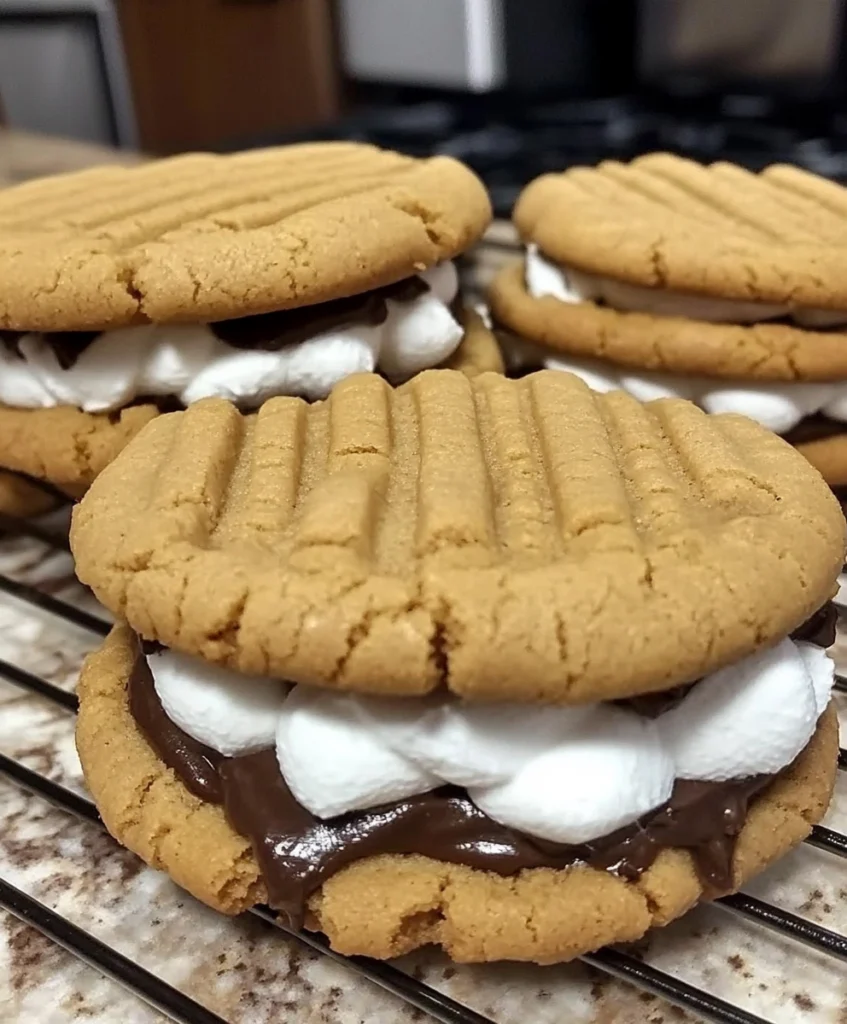
Substitutions and Variations
You can make a few simple changes without losing what makes these cookies work. Just keep in mind that substitutions in the filling are much more forgiving than major changes to the peanut butter cookie dough.
- Switch the chocolate: Semisweet chocolate works well if you want the sandwiches less sweet, while dark chocolate gives them a stronger cocoa flavor. I’d keep the milk chocolate if you want the closest thing to that classic s’mores taste.
- Use mini marshmallows: Mini marshmallows can replace the fluff, but they create a thicker, less evenly distributed filling and work best when softened before sandwiching.
- Add graham cracker crunch: Sprinkle a small amount of crushed graham cracker over the marshmallow before adding the chocolate. It brings another familiar s’mores element without changing the cookie dough itself.
- Add a touch of salt: A light sprinkle of flaky salt over the chocolate can balance the sweetness of the marshmallow and milk chocolate.
- Make them extra chocolatey: Add a few mini chocolate chips to the filling before closing each sandwich for little pockets of firmer chocolate.
Tips for the Best S’mores Sandwich Cookies
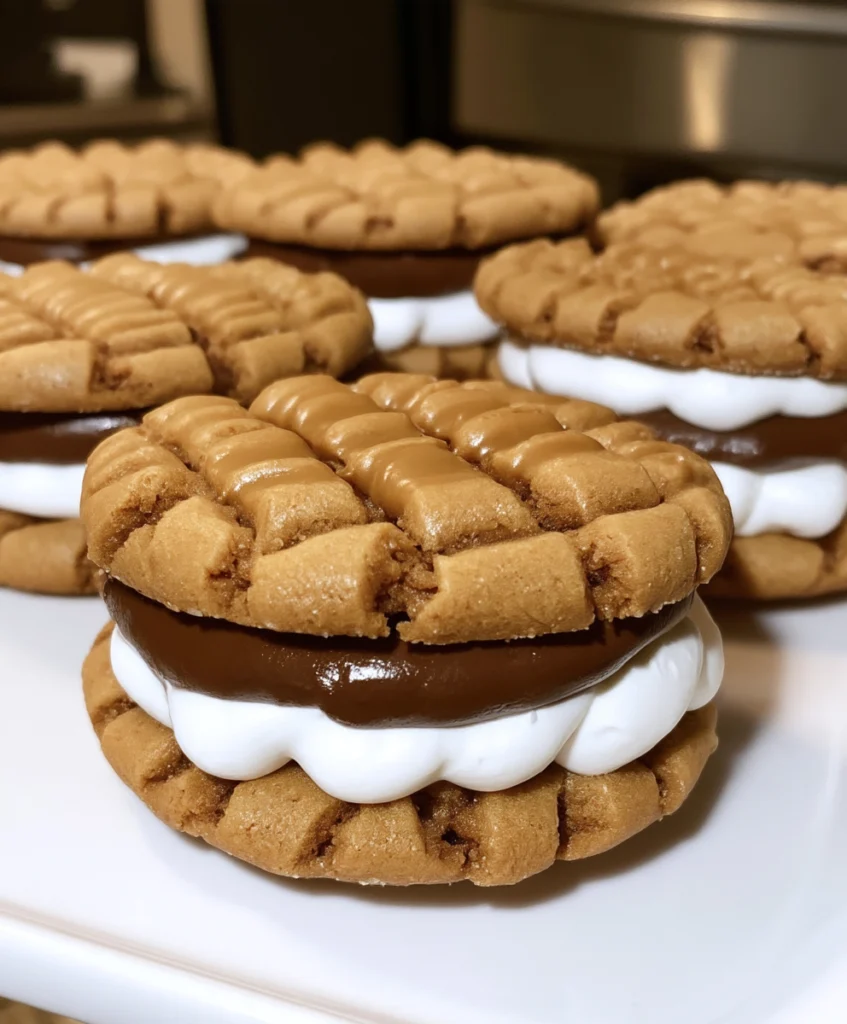
Sandwich cookies are easiest to assemble when the halves match and the filling is thick enough to stay put. These small details make that much easier.
- Keep the portions consistent. A cookie scoop makes it easier to produce evenly sized cookies. That matters here because every sandwich needs two halves that fit together.
- Pair the cookies before filling them. Once they’re cool, arrange them in pairs of similar diameter. Pairing them before you start filling makes assembly move much faster.
- Don’t get carried away with the filling. It’s tempting to pile it high, but marshmallow fluff, warm peanut butter, and melted chocolate all spread when the top cookie goes on. A little restraint gives you a much neater sandwich.
If you enjoy soft homemade cookies, try these soft and chewy banana bread cookies too. They’re a simple option when you’re craving a homemade cookie without the extra filling and assembly.
Storage and Freezing
Because the finished cookies contain marshmallow fluff, melted chocolate, and peanut butter, their texture changes a little as they sit. They’re especially good once the filling has had time to settle but the cookies are still soft.
Storing Assembled Sandwich Cookies
Store the assembled cookies in an airtight container at room temperature for up to 3 days. If you’re stacking them, place parchment paper between the layers to keep the cookies from sticking together.
If your kitchen is warm enough to soften the chocolate, keep the sandwich cookies in the refrigerator instead. Before serving, leave them at room temperature for about 10–15 minutes to let the filling soften again.
Storing Unfilled Cookies
If you’re making the cookies ahead of time, store them unfilled for the best texture. Once they’ve cooled completely, keep them in an airtight container at room temperature for up to 3 days.
Add the marshmallow fluff, warmed peanut butter, and melted chocolate closer to serving time.
Freezing
For the best texture, freeze the peanut butter cookies before adding the filling rather than freezing the finished sandwiches. Marshmallow filling can become stickier and less consistent once it has been frozen and thawed.
Wrap the cooled cookies well, then store them in an airtight, freezer-safe container for up to 2 months. Let them thaw at room temperature while still wrapped or covered. Once fully thawed, add the fillings and assemble the sandwich cookies as usual.
Common Questions About These Cookies
Why are my peanut butter cookies dry or crumbly?
Using too much flour or baking the cookies for too long can make them dry. Take them out when the edges are lightly golden but the centers still look soft. They’ll continue to firm up as they cool, so don’t wait until they look completely set in the oven.
If the dough seems crumbly before baking, double-check how you measured the flour and make sure the peanut butter was thoroughly mixed. Very dry or separated natural peanut butter can also affect the consistency of the dough.
How do I keep the filling from squeezing out?
The biggest culprit is filling the cookies while the chocolate and peanut butter are still very warm and fluid. Give them a little time to thicken before assembly, and don’t spread the marshmallow fluff all the way to the edge.
It also helps to use less filling than you think you need. When you place the second cookie on top, press just enough to bring the layers together rather than flattening the sandwich.
Can I use toasted marshmallows instead of marshmallow fluff?
Yes. Lightly toasted marshmallows can give the sandwiches a more pronounced campfire-style flavor, but they create a thicker, less evenly distributed filling than marshmallow fluff.
The fluff remains the easiest choice when you want a soft, gooey layer that spreads evenly between the cookies.
Peanut Butter S’mores Sandwich Cookies
Ingredients
Equipment
Method
- Preheat the oven to 350°F. Line baking sheets with parchment paper.
- Beat the peanut butter, softened butter, granulated sugar, and brown sugar until smooth and fluffy, about 2 minutes.
- Add the eggs and vanilla and mix until evenly combined.
- In a separate bowl, whisk together the flour, baking powder, and salt. Gradually mix the dry ingredients into the peanut butter mixture just until a soft dough forms.
- Divide the dough into 40 even portions and arrange them about 2 inches apart on the prepared baking sheets. Gently flatten each cookie with a fork in a crisscross pattern.
- Bake for 10–12 minutes, until the edges are lightly golden but the centers still look soft.
- Let the cookies cool on the baking sheets for 5 minutes, then transfer them to a wire rack and cool completely.
- Arrange 20 cookies bottom-side up. Spoon marshmallow fluff onto each cookie, leaving a little space around the edge.
- Warm the 1/2 cup peanut butter just until it becomes easy to drizzle. Melt the milk chocolate chips gently until smooth, then allow the chocolate to cool slightly so it thickens without setting.
- Drizzle the warmed peanut butter over the marshmallow fluff, then spoon or spread the melted chocolate over the top.
- Top each with a second cookie and press very gently until the filling reaches toward the edges.
- Let the sandwich cookies stand for 10–15 minutes so the chocolate can begin to set before serving.
Notes
- Use conventional creamy peanut butter for the most consistent cookie texture.
- Measure the flour lightly rather than packing it into the measuring cup.
- Don’t overbake the cookies. The centers should still look soft when they come out of the oven.
- Make sure the cookies are completely cool before filling them.
- If the chocolate is too runny for assembly, let it cool briefly until it thickens.
- Store assembled cookies in an airtight container for up to 3 days.
- For freezing, freeze the unfilled cookies for up to 2 months and add the filling after thawing.